Archiving a schedule allows you to remove it from your active list without deleting any associated data (bookings, attendees, reports). This is useful for keeping your schedules area clean while retaining historical records.
Schedule archive option is not enabled by default - contact us and we will enable for your license.
Option 1: Archive a Single Schedule
-
Log in as an admin
-
Navigate to Courses > Schedules
-
Locate the schedule you want to archive
-
In the Actions column (three dots), select Archive
-
Confirm the action
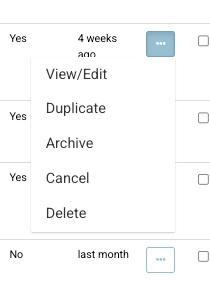
Archive 1 schedule
Option 2: Bulk Archive Schedules
-
Log in as an admin
-
Navigate to Courses > Schedules
-
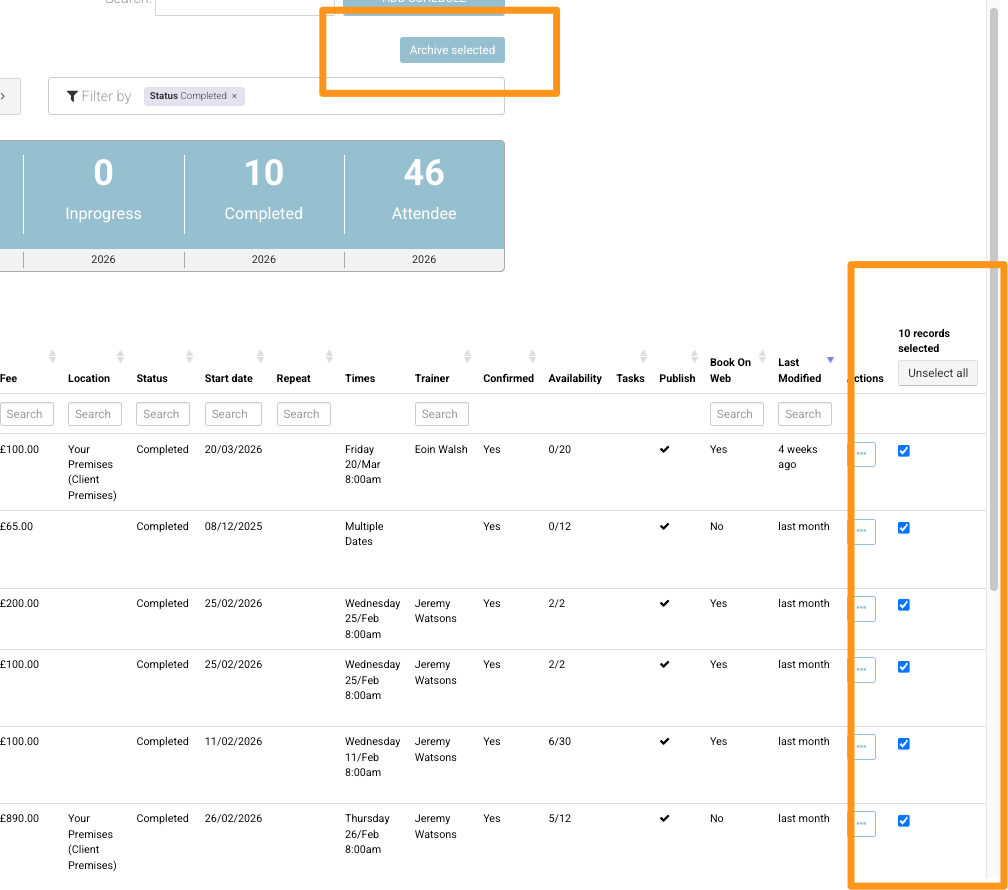
Use filters to refine results (e.g. set status to Completed)
-
Use the bulk select option on the right-hand side
-
Select all applicable schedules
-
Choose Archive from the bulk actions
-
Confirm the action
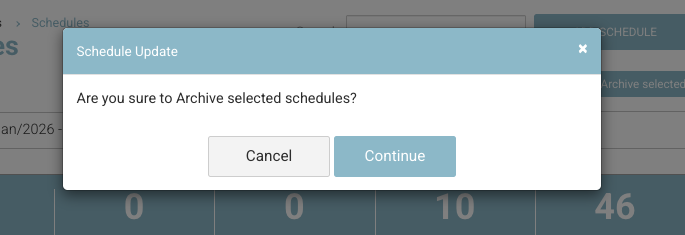
Viewing Archived Schedules
-
From the Schedules screen, navigate to the left menu
-
Select Archived
-
Apply a date range if needed
-
This will display all archived schedules
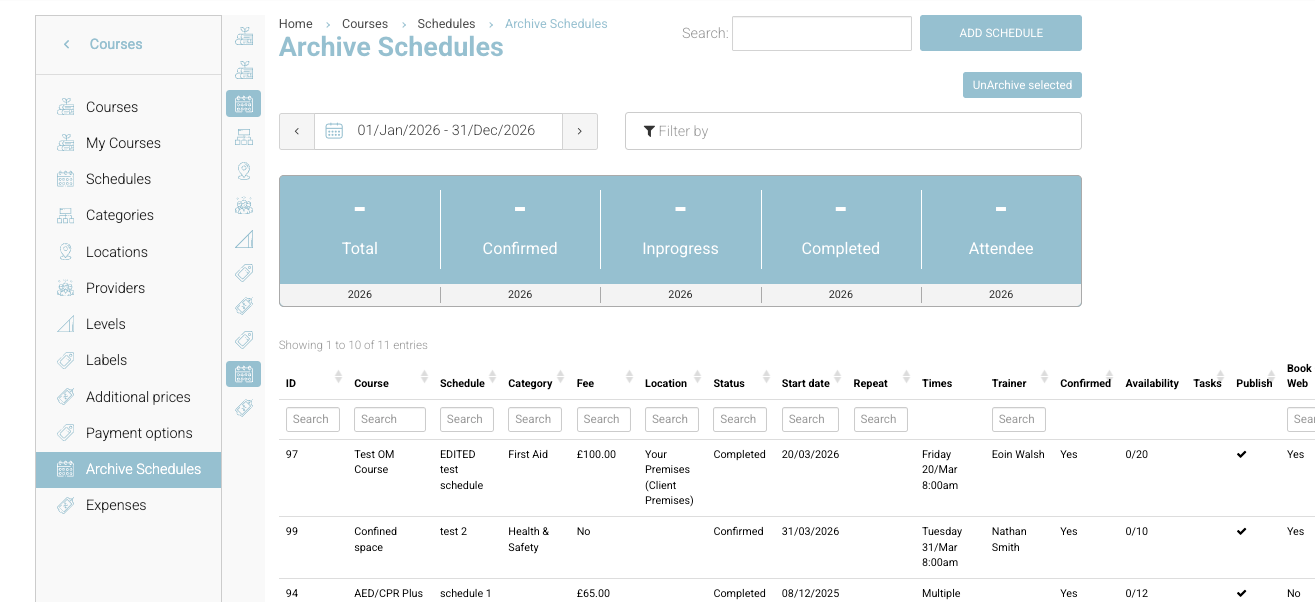
View Archived Schedules
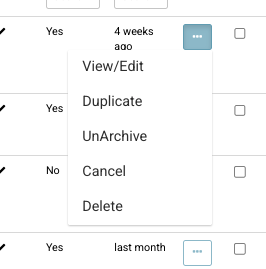
Unarchiving a Schedule
-
Within the Archived view, locate the schedule
-
Select the Actions menu (three dots)
-
Click Unarchive
or -
Complete the bulk action in the same way you originally archived.
Important Notes
-
Archiving does not delete any data
-
Archived schedules are removed from the default active list
-
Bulk archiving should be used carefully—always apply filters first
-
Schedules can be unarchived at any time