This guide explains how to create a course in CourseCo and add the key information your customers will see on your website.
When to Use This
Use this when setting up a new course before adding schedules and taking bookings.
Important to Know
-
A course is created once and reused for multiple schedules
-
The course will only appear on your website when a schedule is linked and published
-
You can add marketing content such as descriptions, videos, and brochures
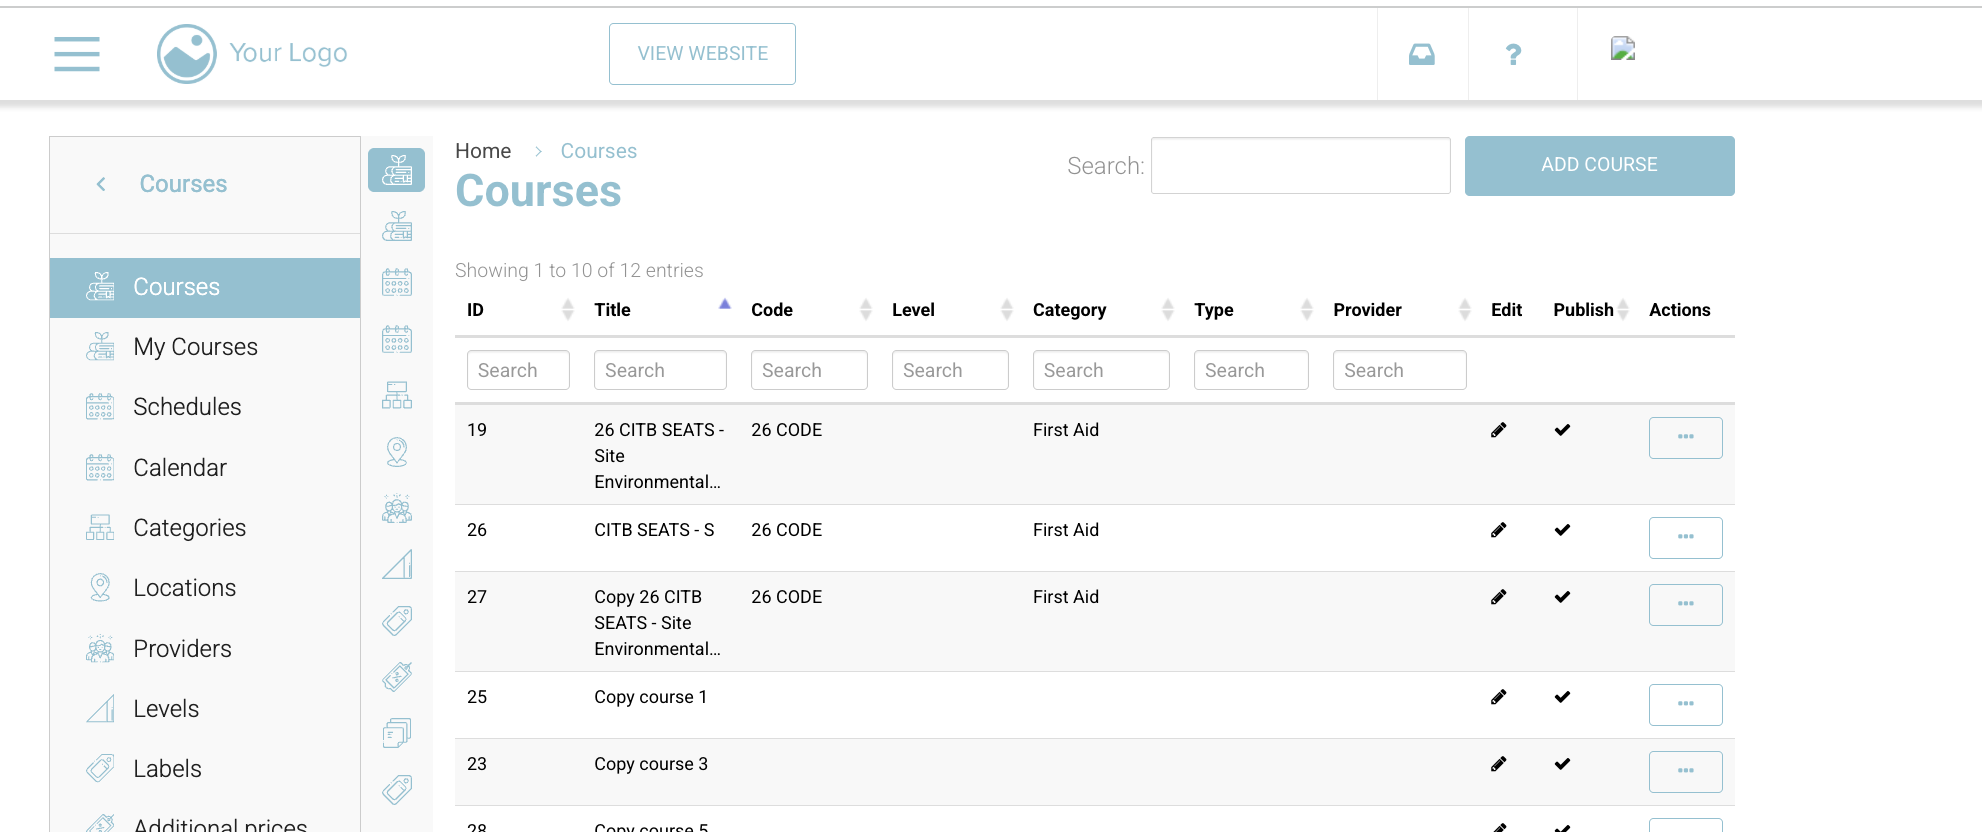
Steps to Create a Course
-
Log in as an admin
-
Navigate to Courses > Courses
-
Click Add Course
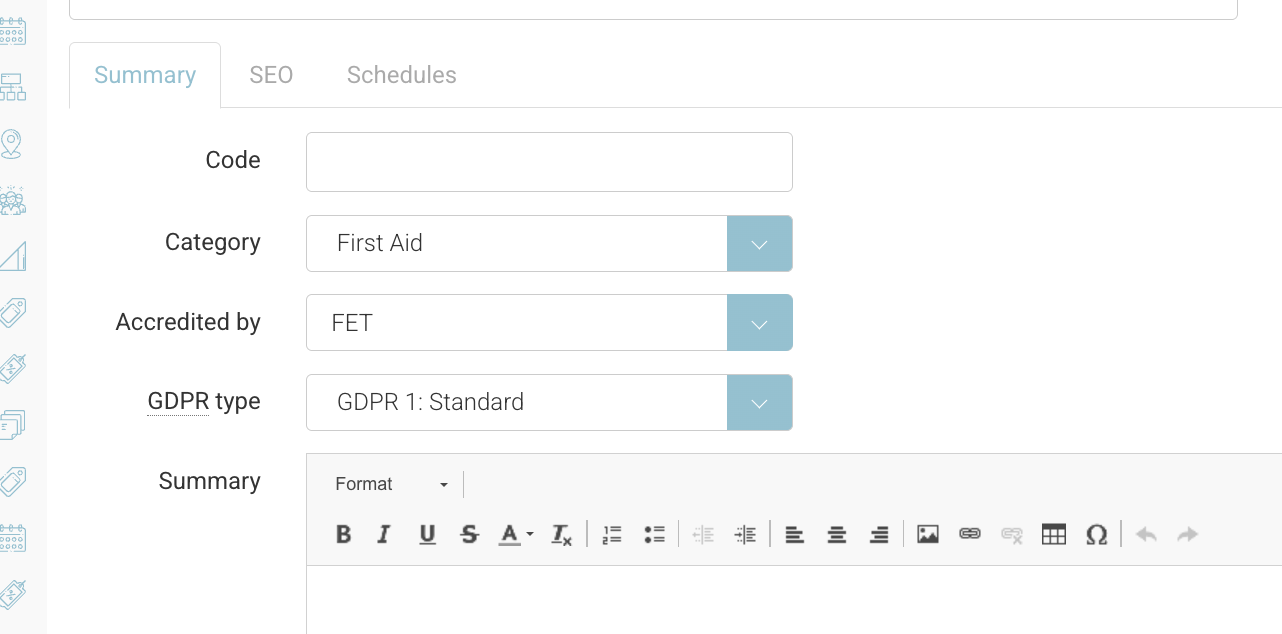
Enter Course Details
Basic Information
-
Course Title
This will display on your website and populate onto your certs. -
Category
Used to organise courses - see user guide here on creating categories.
Optional additional fields to enter
Optional extra fields to enter if needed, see user guide on adding look ups for these fields - user guide here
All fields are not enabled by default, contact us if you require additional fields below to be enabled.
-
Course Code (Optional)
Internal reference or abbreviation -
Accredited by (Optional)
e.g. QQI, CABWI -
Level (Optional)
e.g. Level 6 / 5 Credits -
Type (Optional)
e.g. Public, In-company, short-term, practical -
GDPR Type (Optional)
Used for data retention rules (leave blank if not configured) see full user guide here
Course Content
-
Summary
Short overview of the course-
Displays on course listings and banner
-
-
Description
Full course details (content, structure, outcomes)
You will enter this using the editor.
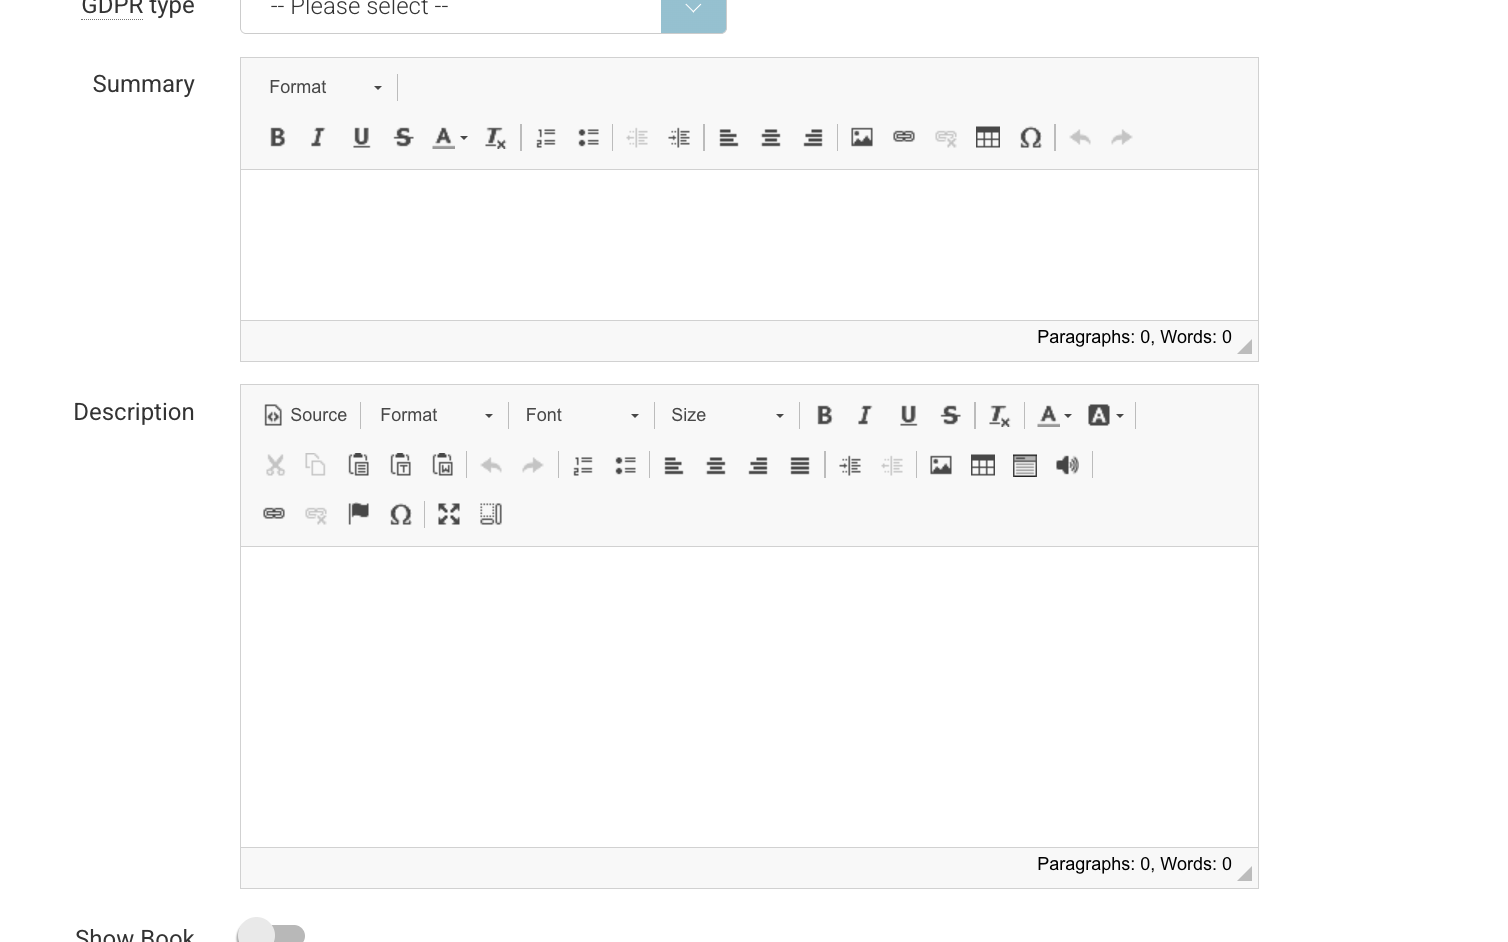
Formatting Tips (Important)
-
Do not change font or font size (controlled by your website theme)
-
Use:
-
Heading 1 / Heading 2 for structure
-
Normal text for content
-
-
Avoid styling headings with bold/underline (already styled)
-
Use bold/italic sparingly for emphasis
Booking Settings
-
Show Book Course
-
ON → users can book (when schedule exists)
-
OFF → course is enquiry/read-only
-
Save the Course
Click Save
What Happens Next
-
The course is created and available internally
-
It will not appear on your website until a schedule is added and published
-
You can preview the course using the Preview tab
Next Step
To make the course bookable, you must create a schedule:
→ See: Creating a Trainer-Led Schedule - see user guide here
Important Notes
-
Courses without schedules will not be visible to customers
-
Keep titles and categories consistent for easier navigation
-
The description formatting may differ slightly on the frontend due to your website theme
Recommended Tips
-
Write summaries clearly—this is what users scan first
-
Add small and often, save the course > view on the website > edit again.
-
Structure descriptions using headings for readability
-
Add marketing content (videos, brochures) to improve conversions