Managing a Website Page
Adding a Web Page
1. Navigate to the Pages module.

The Pages screen showing the list of all your website pages will be displayed.

2. Select Add Page from the Actions dropdown at the top-right.
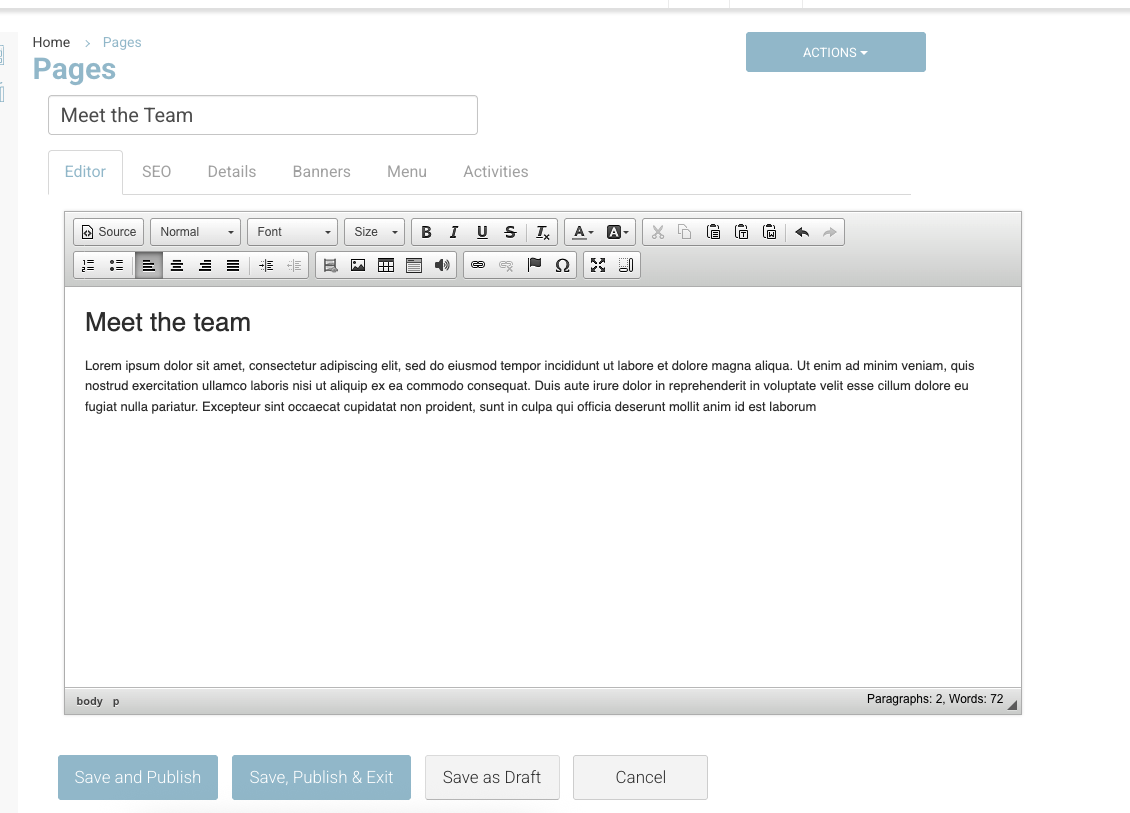
3. Enter the Title for the page in the title box.
4. Enter your content in the Editor box below.
You can create bold headings by highlighting your text and editing your text from Normal to Heading 1, Heading 2, or Heading 3.
Also, you can add bullet points or numbers and format your content just like you do in any text editor.
5. If you wish to publish the page immediately on the website, click Save and Publish. You can also save the page as a draft by clicking the Save as Draft button and publish it at a later point in time.
The page will be created and displayed on the Pages screen.

6. To preview a page, click View, under the Options column, in its row.
The preview will be displayed in a new tab of your browser.
Editing a Web Page
Suppose you have created a page and published it, but you may want to change its content or update course information, and in such cases, you can easily edit your pages on CourseCo.
1. Select the page you wish to edit.
2. Edit any page details such as the title, headings, bullet points, and so on.
3. Click Save and Publish.
The changes you made will be reflected on your web page.
Deleting a Web Page
Deleting a page removes it completely. You will not be able to access the pages once they have been deleted. This action is essential in cases when the course becomes obsolete, or you no longer require a particular page.
1. Select the required page you wish to delete.
2. Click Delete.
The page will be removed.
Pages you should NOT delete on CourseCo
Note: Do not delete the following pages, as they are system pages required for CourseCo to function properly:
Home
Course-List
Course-Detail
Checkout
thankyou
Thank-you
Sitemap
error404
Login
News
Contact us
Pages | Layouts - understanding which layouts are applicable to you

Admins can create new pages within the CMS to display content such as text, images, or embedded media. Only two layout options should be used when creating standard pages:
Content
Content Wide (04)
All other layouts are reserved for system setup and should not be edited.
Layout Options
1. Content
This layout includes a right-hand calendar panel.
It is the default layout automatically applied when a new page is created.
Suitable for most general content pages.
2. Content Wide (04)
This layout is a blank, full-width page with no right-hand calendar.
Ideal for pages that require a clean, open layout (e.g., landing pages or information pages without side widgets).
Important Note
Do not use or edit other layout options.
These are system layouts used for platform functionality (for example, the Checkout layout used with the Course Detail page).Editing or assigning these system layouts to other pages may cause display or functional issues.
Steps to Add a Page
Go to Left Menu → Pages.
Click Add Page.
Enter your Page Title and URL Slug.
Under Layout, select either:
Content (default), or
Content Wide (04)
Add your content in the Editor.
Click Save to publish.