Enabling a Waitlist for a Schedule
1. Log in to CourseCo as Admin.
2. Navigate to Courses > Schedules > Booking.
The Schedules page will be displayed.
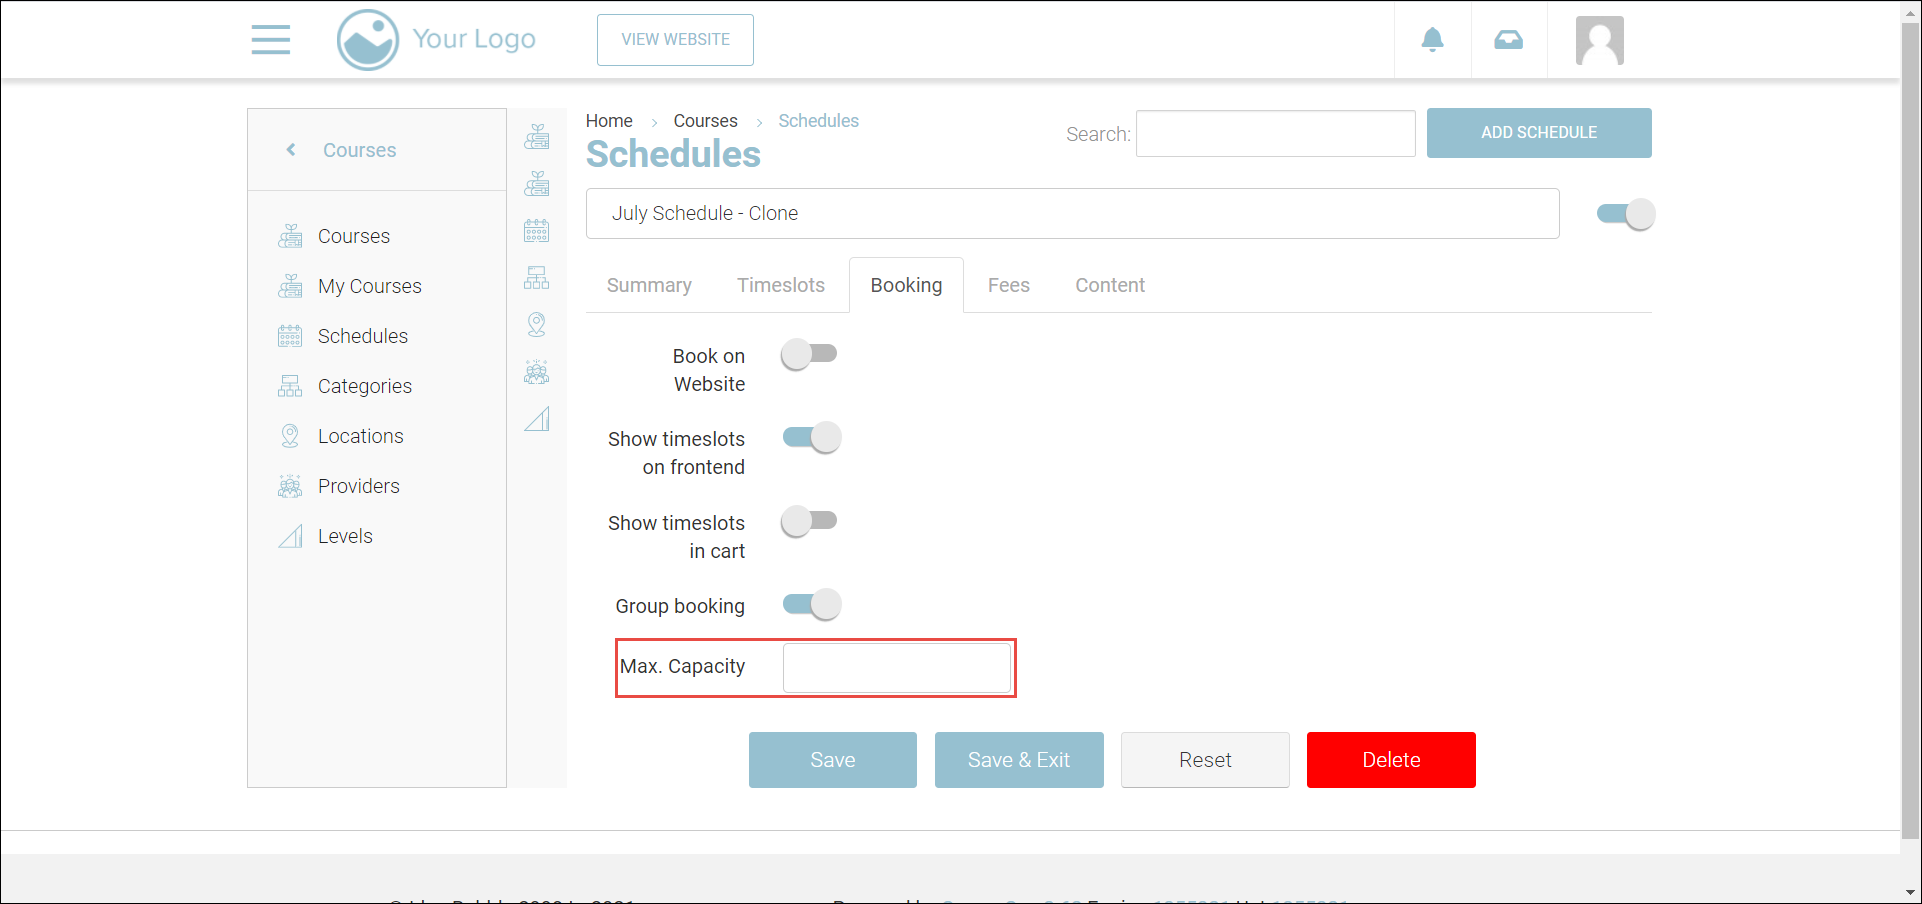
3. Enter 0 in the Max.Capacity field and click Save.
The schedule with add to waitlist enabled will be displayed.
Contacts Waitlist Report
This section explains the admin experience with the CourseCo application when they run a contacts waitlist report
As soon as the customer books a schedule on the waiting list, the admin receives an email. The email includes the name and schedule of the add to waitlist contact.
The admin can see the waitlist contact in his/her CRM (Contacts)
To see the course waitlist contacts in the reports follow the steps below:
1. Log in to CourseCo as Admin.
2. Navigate to Reports.
The Course Waitlist Contacts page will be displayed.
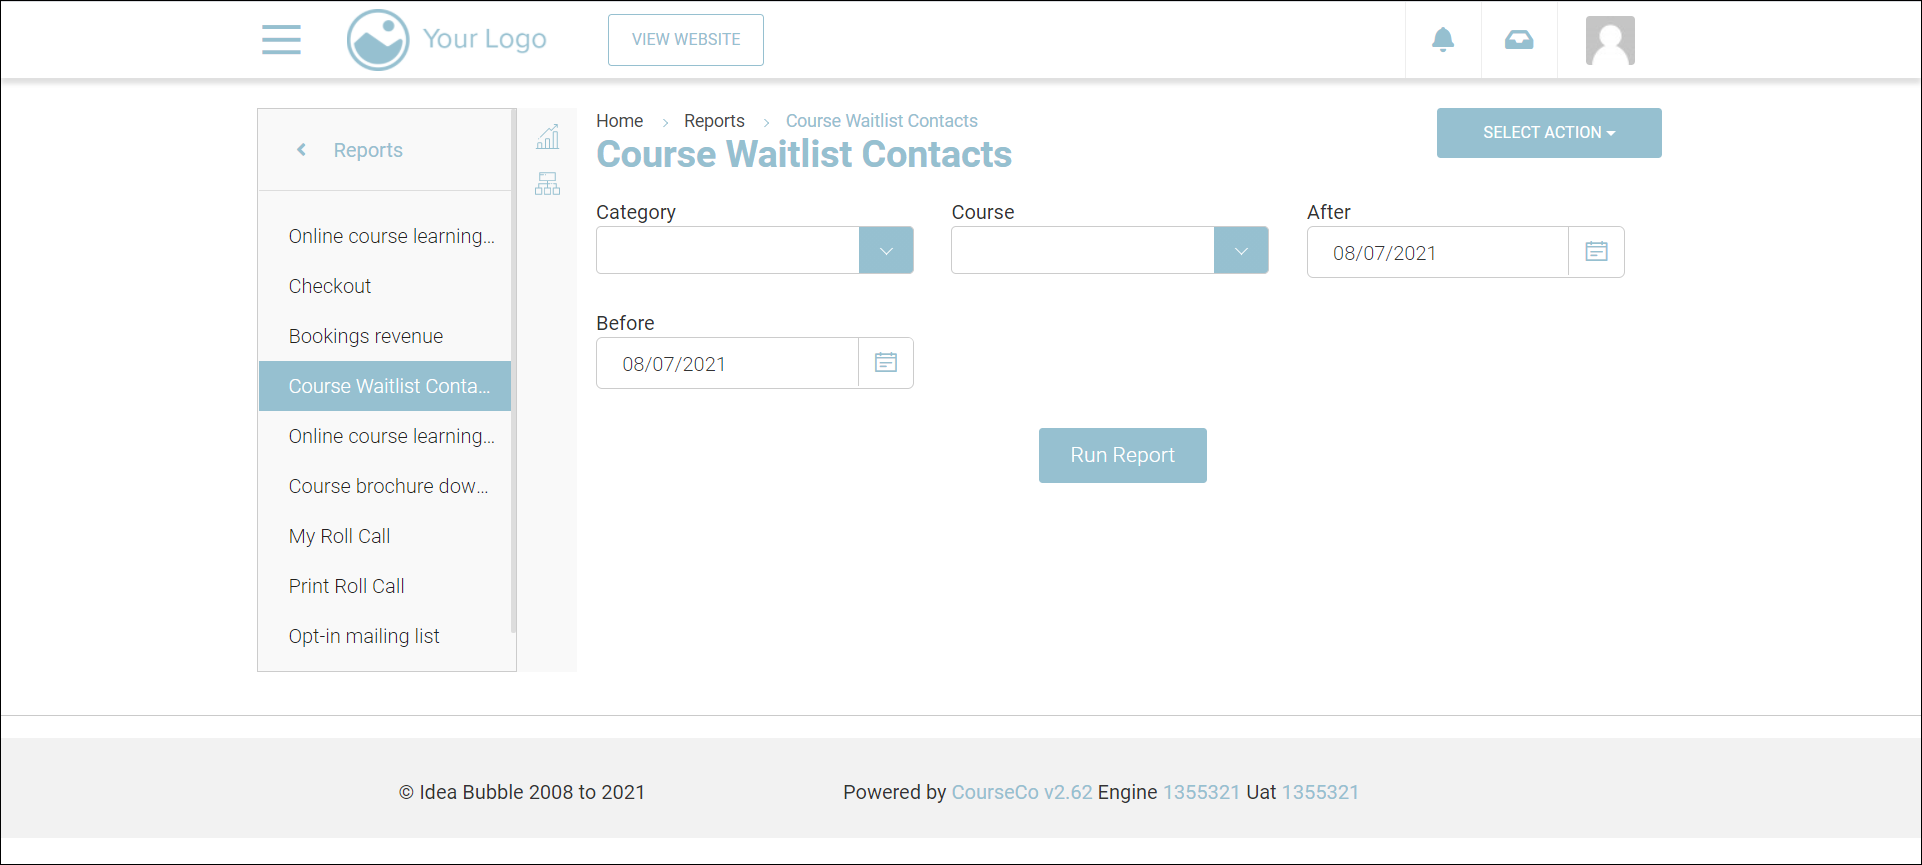
3. Select the Category, Course, After, and Before fields and then click Run Report.
Note: The report considers the results filter by the schedule start date. It does not consider the date on which the contact was added to the waitlist
The waiting list contact details will be displayed. You can also download the report in CSV format, email it as CSV, and print the report by selecting any one of the options from the SELECT ACTION dropdown.