Attendance - Updating My schedules as a trainer
In this article, you will find steps on how to take attendance as a trainer.
Log in as a trainer
In the left menu, go to the ‘Attendance’ plugin
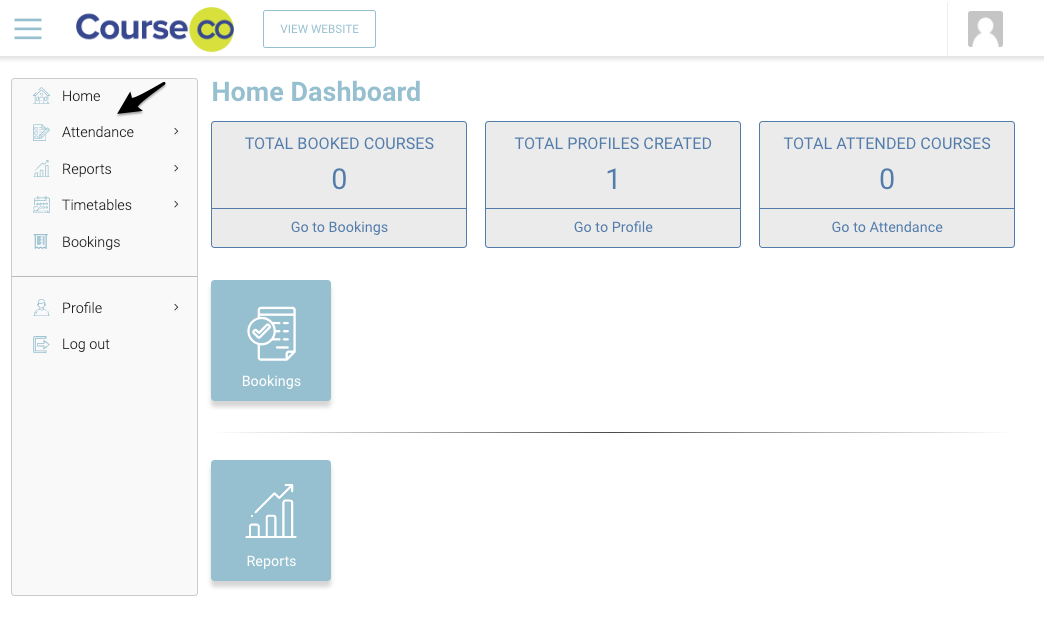
You will be redirected to the ‘My attendance’ page
Select the date range to see your student's attendance records
A list of students will appear for the selected date range filter as shown in the image below
To refine your results, you can filter by the schedule name
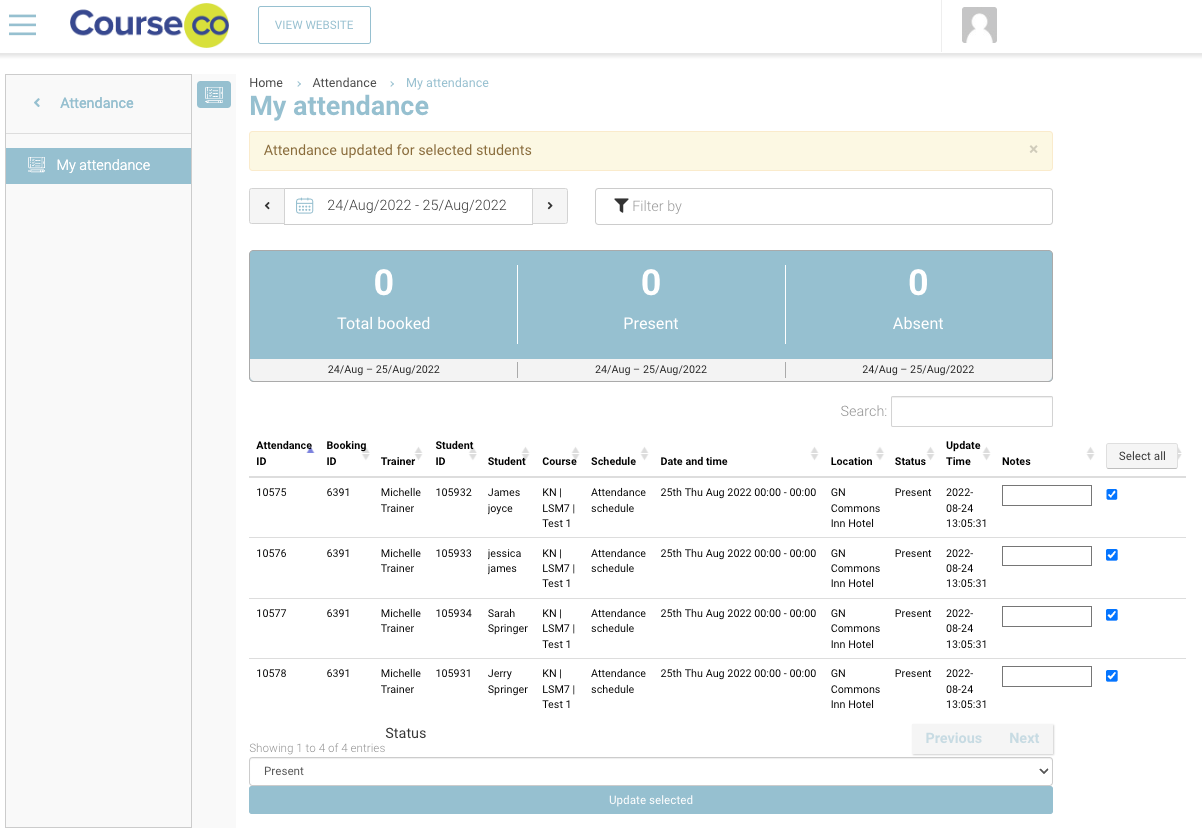
To update the attendance status, select the students by ticking the checkbox in front of them
Please note that you can update only one attendance status at a time.
For example: A schedule has 5 Attendees.
I can select 3 out of 5 people in a schedule and update them as Present.
To mark other 2 people as absent, I must repeat the process again by selecting 2 attendees and updating as Absent.
Select the attendance status from the dropdown as shown in the image below
Click on ‘Update selected’ button to update attendance status of the selected students
To refine your results, you can filter by the schedule name
Outcome:
The attendance status will be updated for selected students in the date range
Admins can view the delegates attendance status updated by the trainer