Academic Schedules (Full time schedules) - Practical Example
When generating a schedule for Full Time students, there are multiple options / ways to do this. Below is a suggestion only and can be changed based how you would like it organised.
The schedule steps below covers a solution for a Practical schedule eg 100 students, multiple locations, multiple trainers and how the students needs to be organised
Grouping Students - Intro to the solution
The scenario below describes a solution for large practical trainings, that have lots of students and multiple trainers covering multiple modules all at one time. The solution helps track who trains what module, the students who need to attend and the time they will be doing it.
The solution is organisation with multiple timeslots, happening at the same time and the students are grouped by Labels. Each label having an assigned timeslot, trainer and module.
Understanding the difference between Theory Schedule setup versus Practical setup.
There is a small difference with setting up theory versus practical schedules. See differences to help understand:
Timeslots
Theory has one timeslot per session eg Mon 9-10 due to only having one trainer
Practical has many timeslots per session, 1 for each trainer and group of student eg
Mon 9-10, Trainer X, Group 1, Module A
Mon 9-10, Trainer Y, Group 2, Module B
Mon 9-10, Trainer Z, Group 3, Module C
Mon 10-11, Trainer Y, Group 1, Module B
Mon 10-11, Trainer Z, Group 2, Module C
Mon 10-11, Trainer Z, Group 3, Module A
Timeslot Labels
Theory schedules do not require adding labels to students and timeslots as everyone is attending at the same time, same location, same trainer, same Module.
Practical Schedules, timeslots need labels for each time and students need to be assigned a label so they know the timeslot they must attend. See example above where admin will build out a Matrix so each student group is trained on each Module
How to create a Practical Schedule
Login as admin
Go to Courses > schedules
Create schedule
Add title eg Practical - Label A, B, C, D
Summary Tab
Select the course it relates to i.e. the full time course
Do not enter trainer, subject, location (this will be decided on the timeslot tab section)
Select Trainer led and classroom based
Timeslots Tab
Blackouts
should have been added previously - see user guide on adding blackouts
Repeat
Select Custom
Select Frequency Weekly
Select the days of the week Practical classes are being held.
eg Mon-Fri
Add multiple timeslots for the same s
Now select each tab, and enter the timeslots for each day
On each timeslot, eg Monday 9-10, set the trainer, location, Subject(module), Add label for each timeslot - see steps below on how to add a timeslot Label option
Once all your timeslots frequency has been added, set the start and end date eg Sept 2023 - May 2024
Select Generate Timeslots.
Outcome: You will see all your timeslots generate for the year ahead.
It will skip blackout dates
You will see Multiple timeslots for the same start time and end time, but each timeslot will have a different trainer, module and Label i.e. different set of attendees.
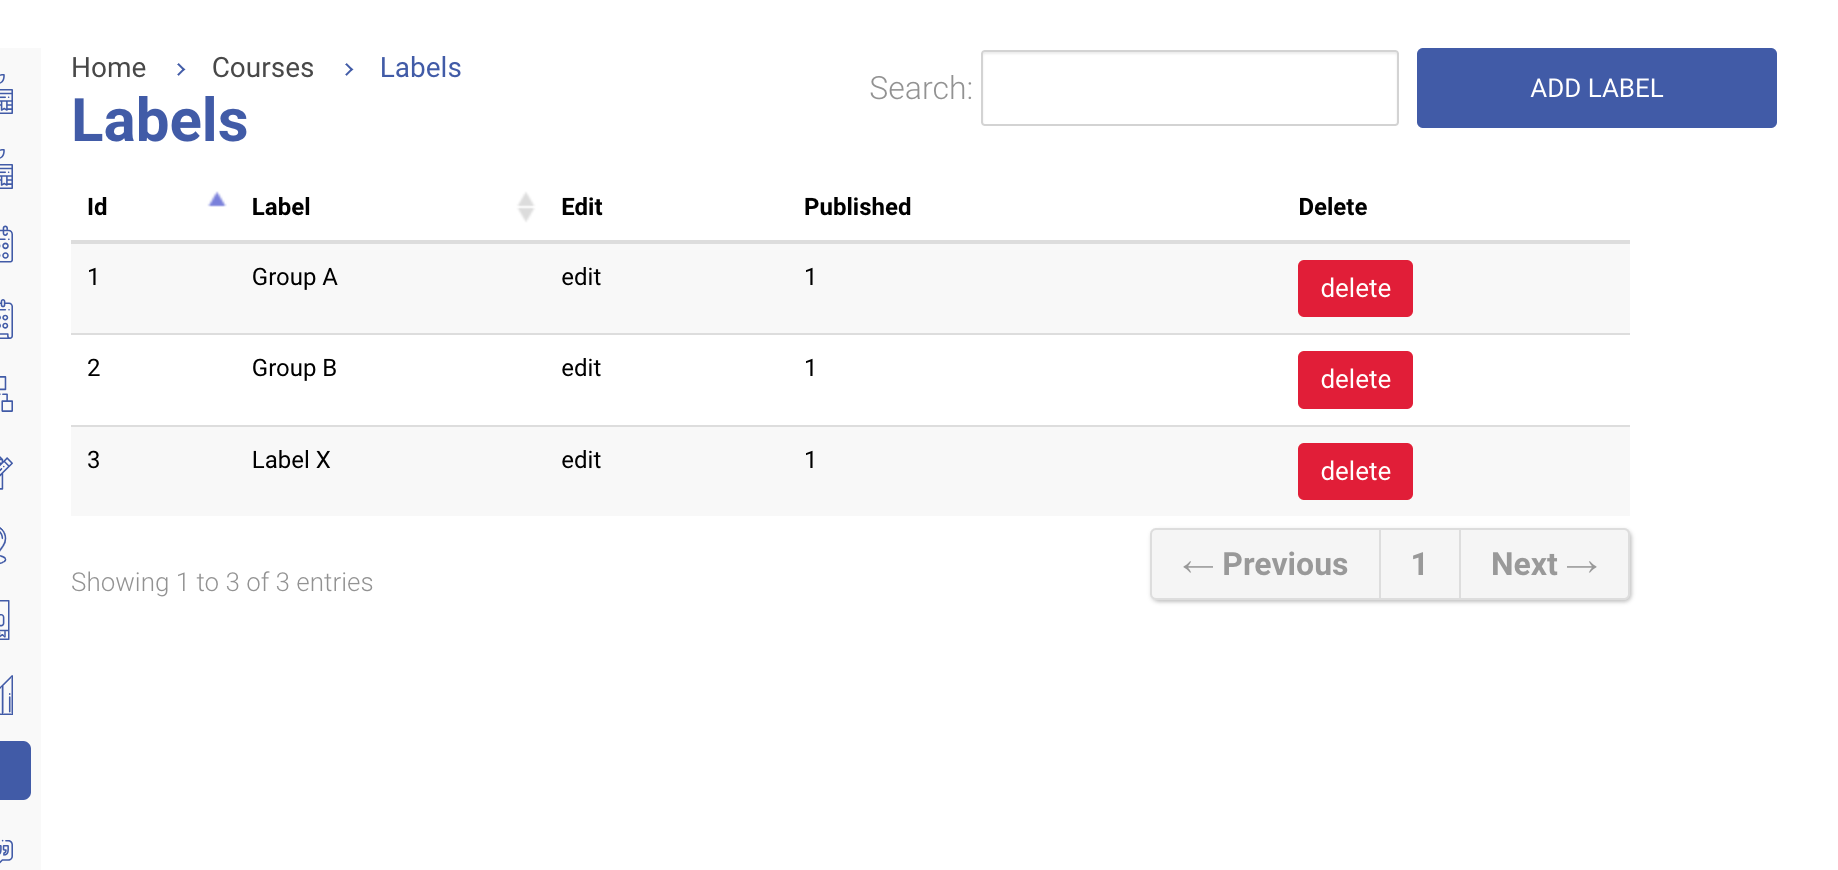
How to add a new label option
Labels are used to organise multiple attendees on the schedule into groups and assign each group to a timeslot.
login as Admin
Go to courses and using the left menu select Labels
Select Add Label
Add Label name (anything you would like)
Save
Outcome: you have added a label
Assigning a label to attendees
Pre-condition: Attendees have been booked onto the schedule.
Once an attendee has a label, you will need to assign each label to its own timeslot (as per steps above, 7. Repeat)
Login as admin
Open courses > schedule
Open your schedule
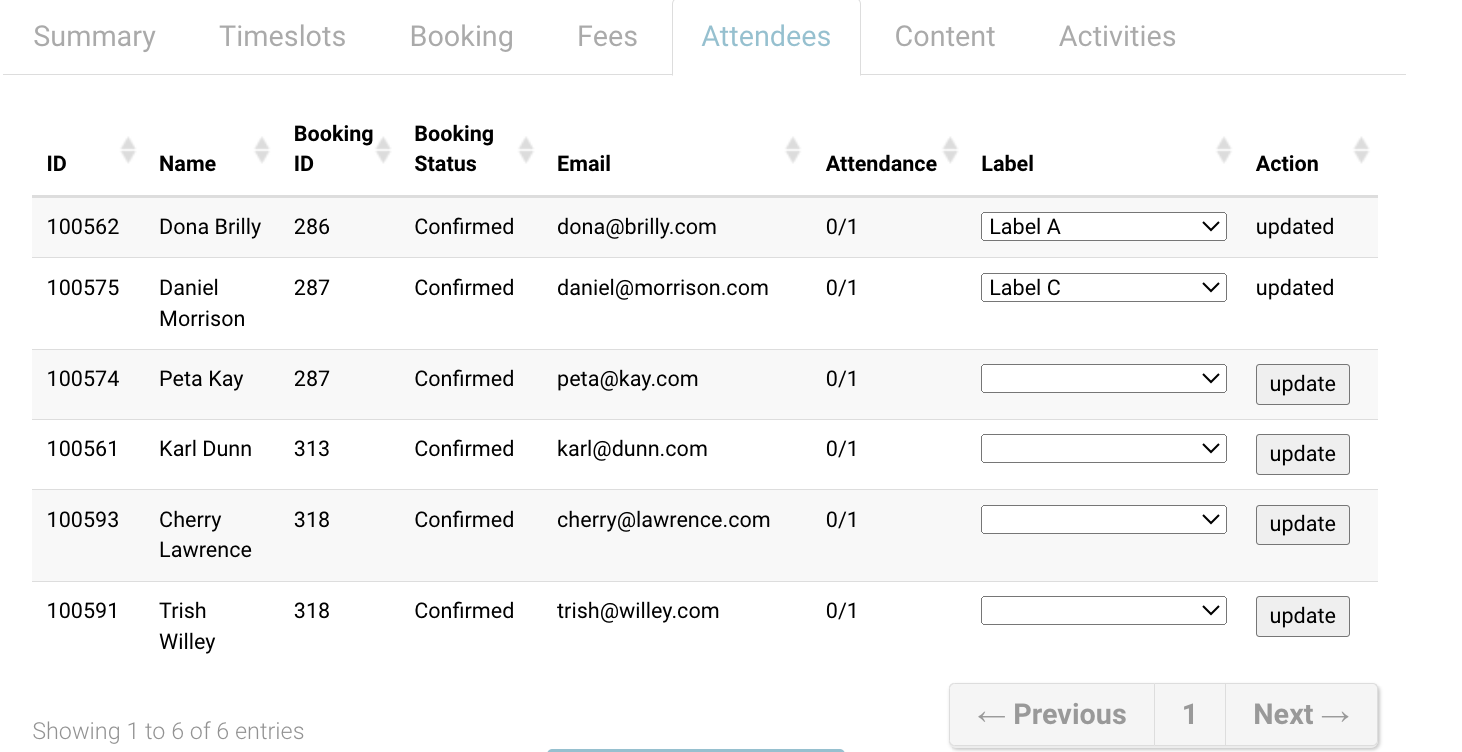
Navigate to the attendee Tab
Review the list of attendees
Using the Label column, select the label from the dropdown + select Update.
complete this task per student
By selecting the UPDATE button, you are saving the update i.e. you do not need to save the schedule also