Managing a Website Panel

Website Panel example
Adding a Website Panel
1. Navigate to Panels.
The Panels will be displayed.
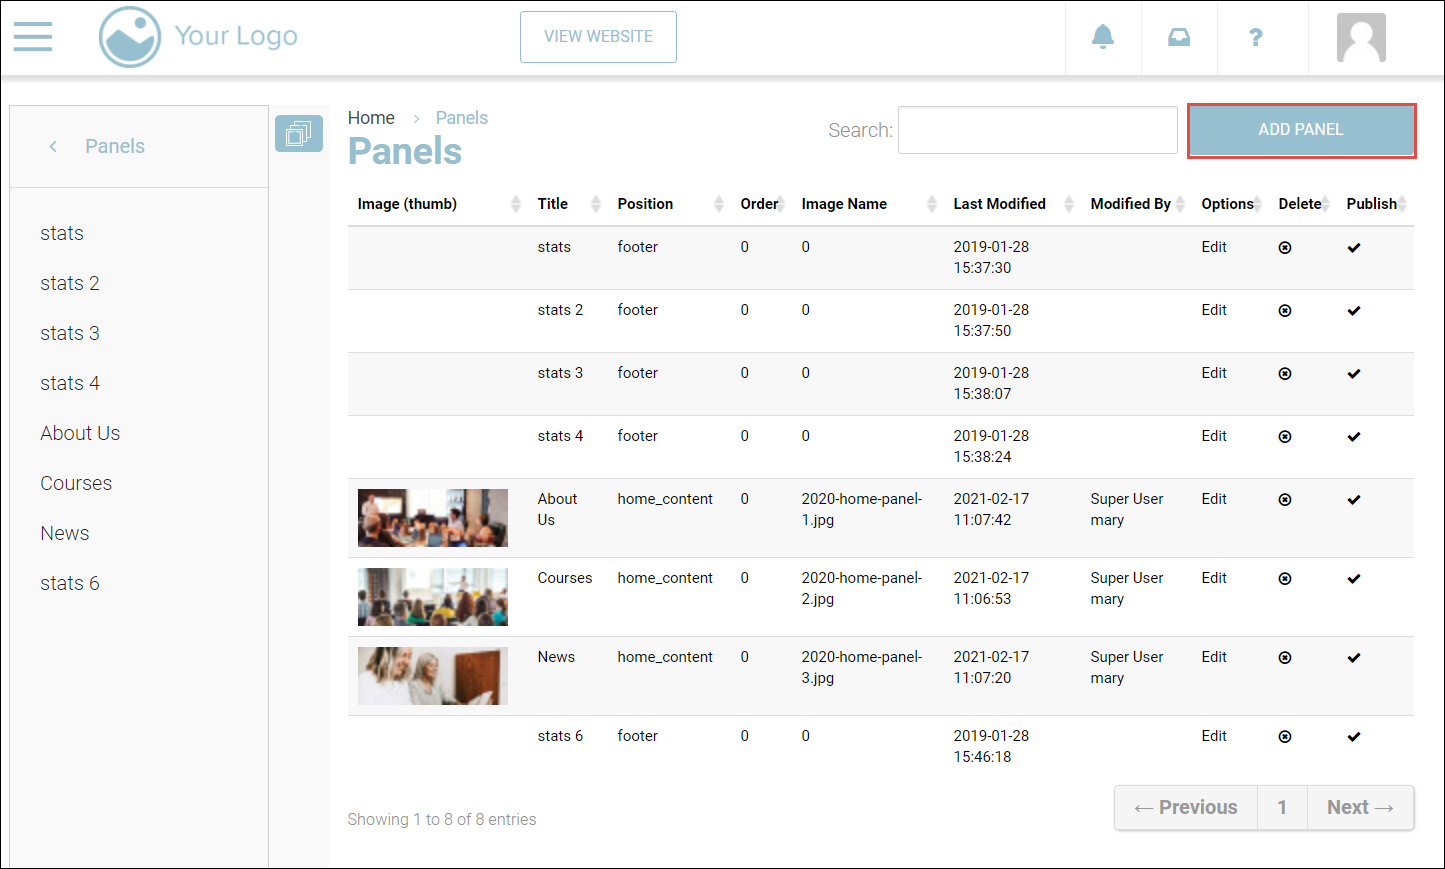
2. Click Add Panel.
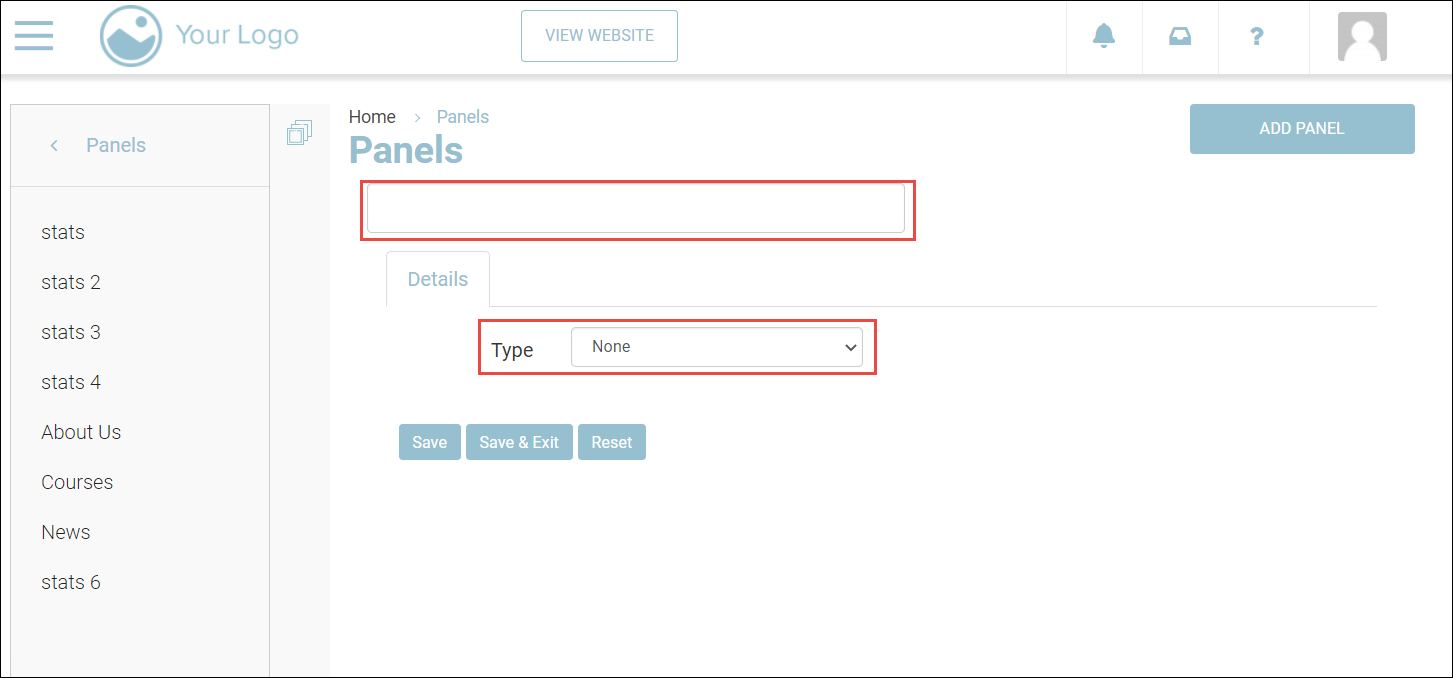
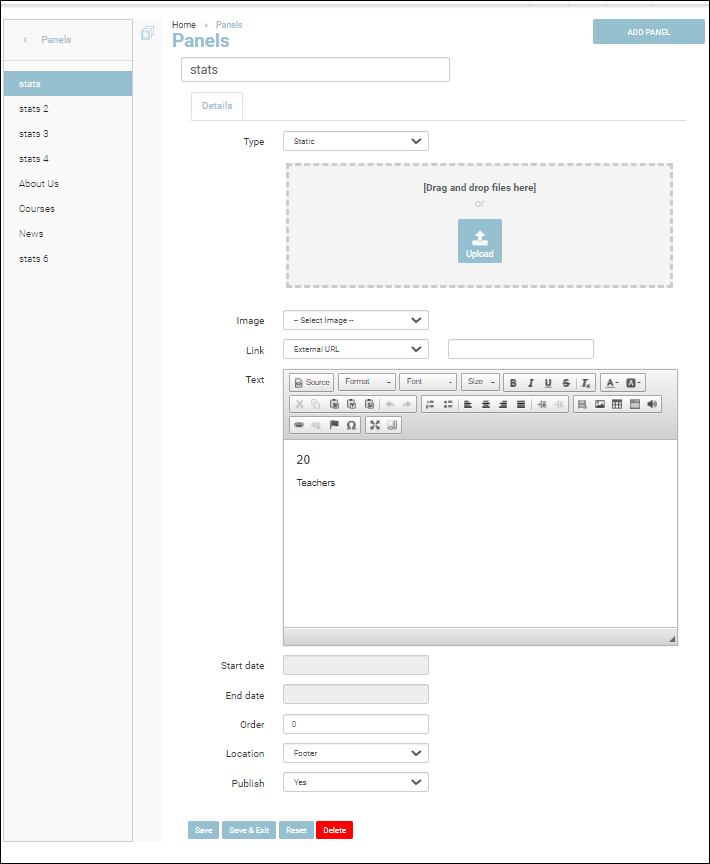
3. Enter the Title for the panel.
4. Select the type of panel as Static from the Type dropdown.
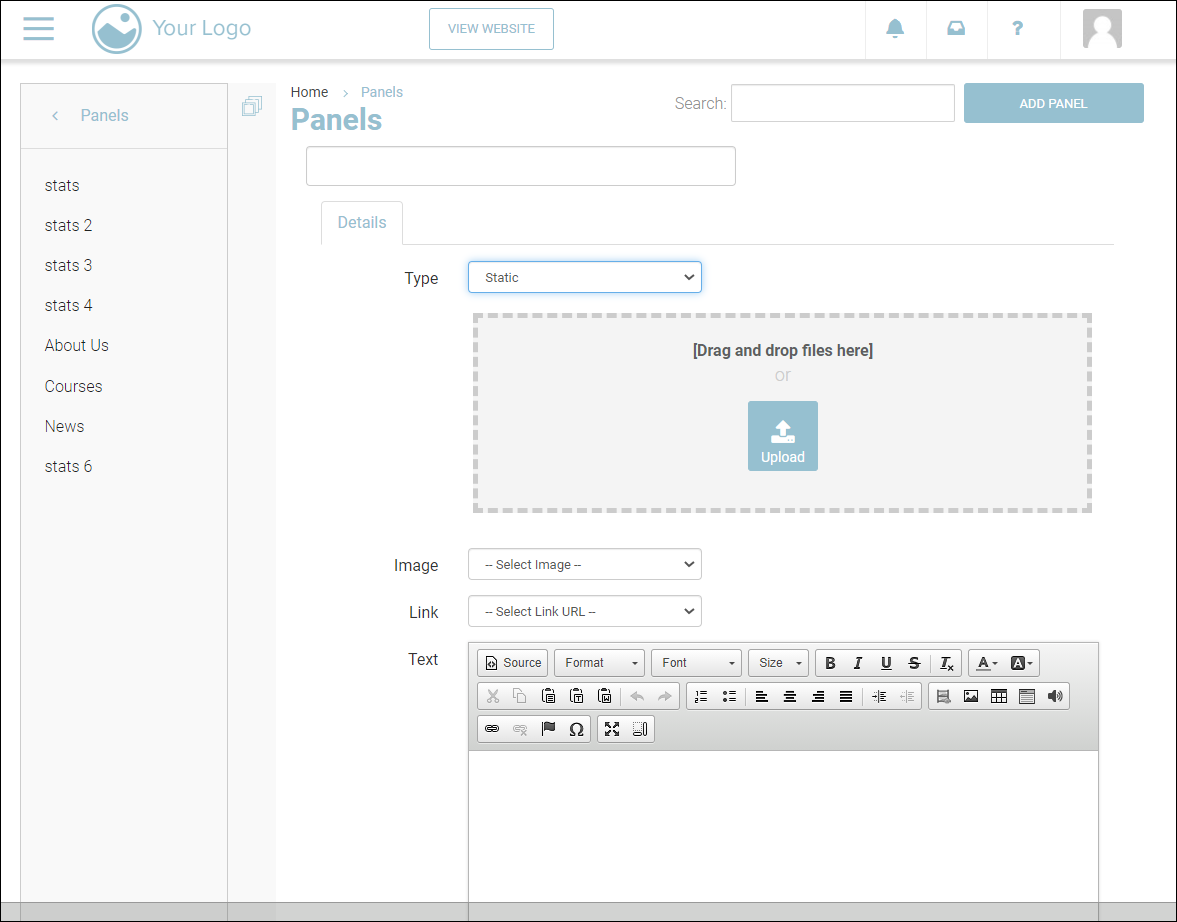
5. Drag and drop your images or Upload them. You can even select existing images from the Image dropdown.
If uploaded the panel image via Media folder - select preset ‘Home panel’ - standard dimensions 640x248 - we highly recommend uploading your images with the correct preset to ensure no pixelation.
6. In the Link dropdown, select the page you wish to link the image to.
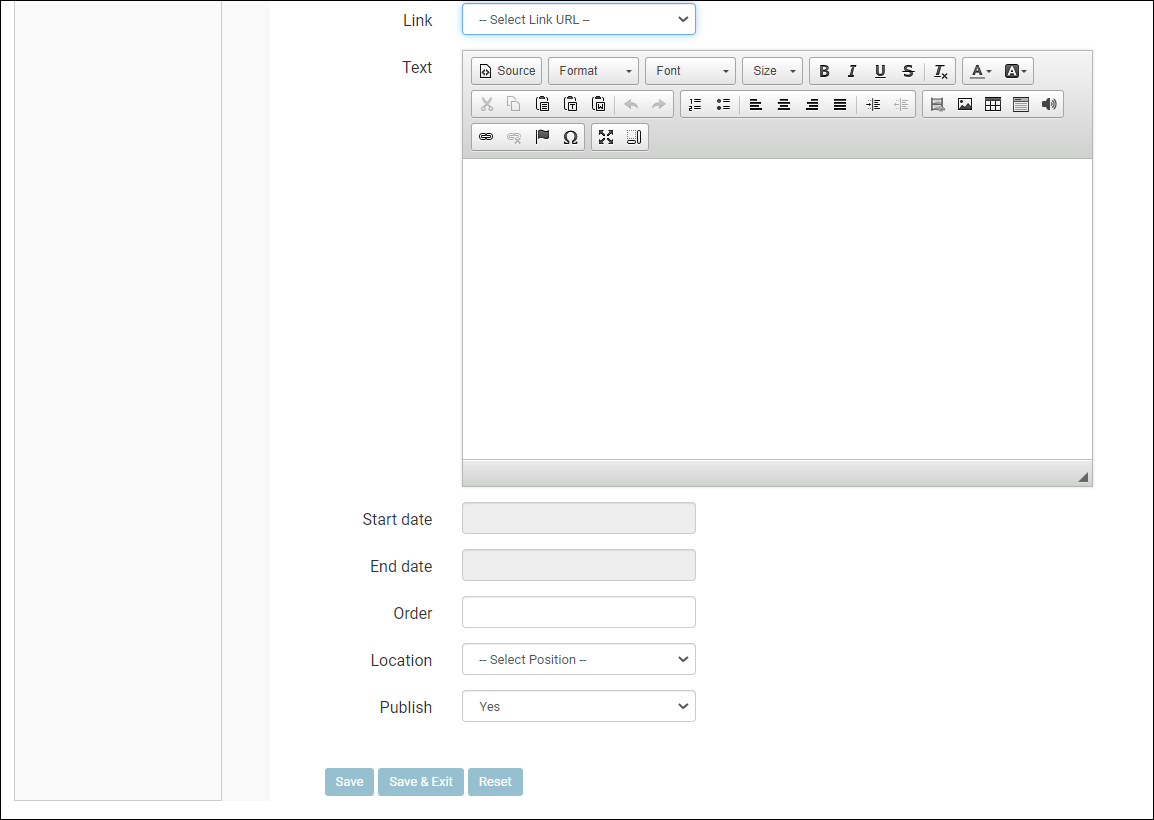
7. Enter text if any in the Text Editor.
8. Enter the Start Date, End Date, and Order details for publishing.
8. Select the required Location as to where you wish to publish the panel.
9. Select Yes to Publish the panel.
10. Click Save.
The Panel will be added.
Editing a Website Panel
Suppose you need to add new updates to the panel and update images, then you can just edit the panel.
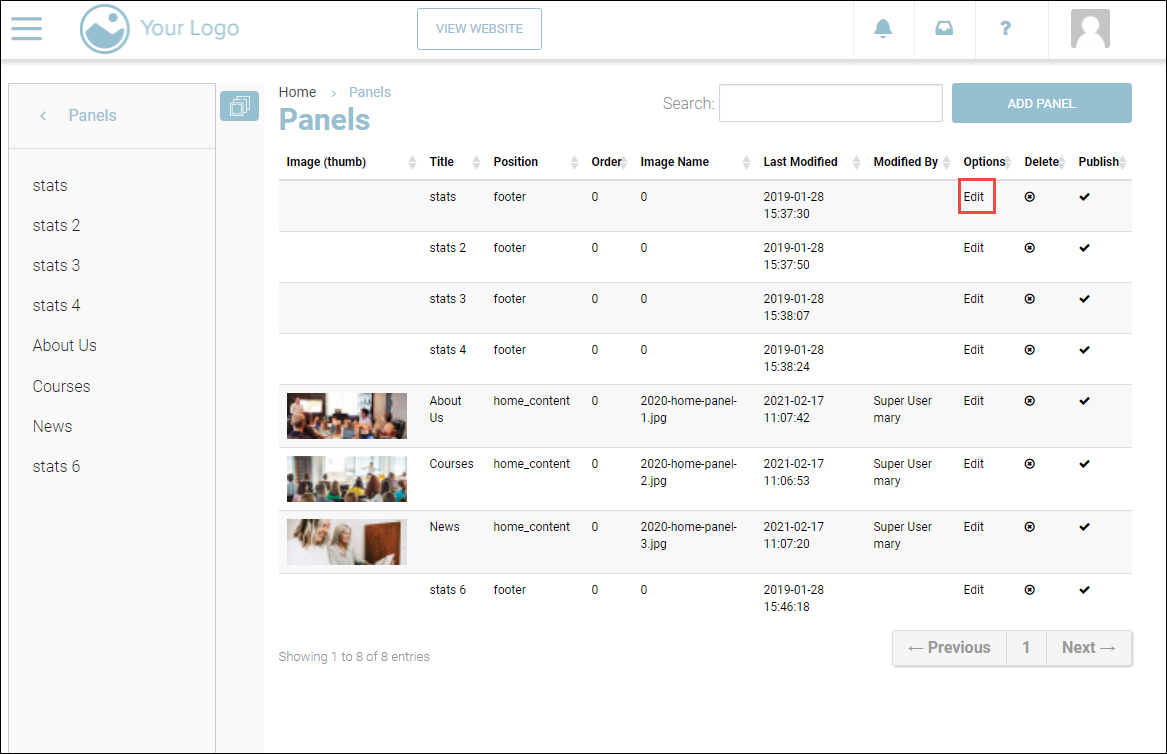
1. Click Edit under the Options column for the panel you wish to edit.
2. Edit the fields you wish to update. It could be the Text content, image updates, new links, and so on.
3. Click Save.
The changes will be updated on the panel.
Deleting a Website Panel
If you wish to permanently remove a panel from the website, you can do so with the Delete option.

1. Select the Delete icon under the Delete column for the panel you wish to remove.
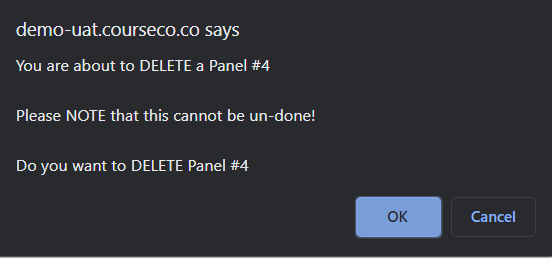
2. Select Ok in the prompt dialog.
The panel will be deleted.
Note: You can also delete by navigating into the required panel and then clicking the Delete button at the end of the page:

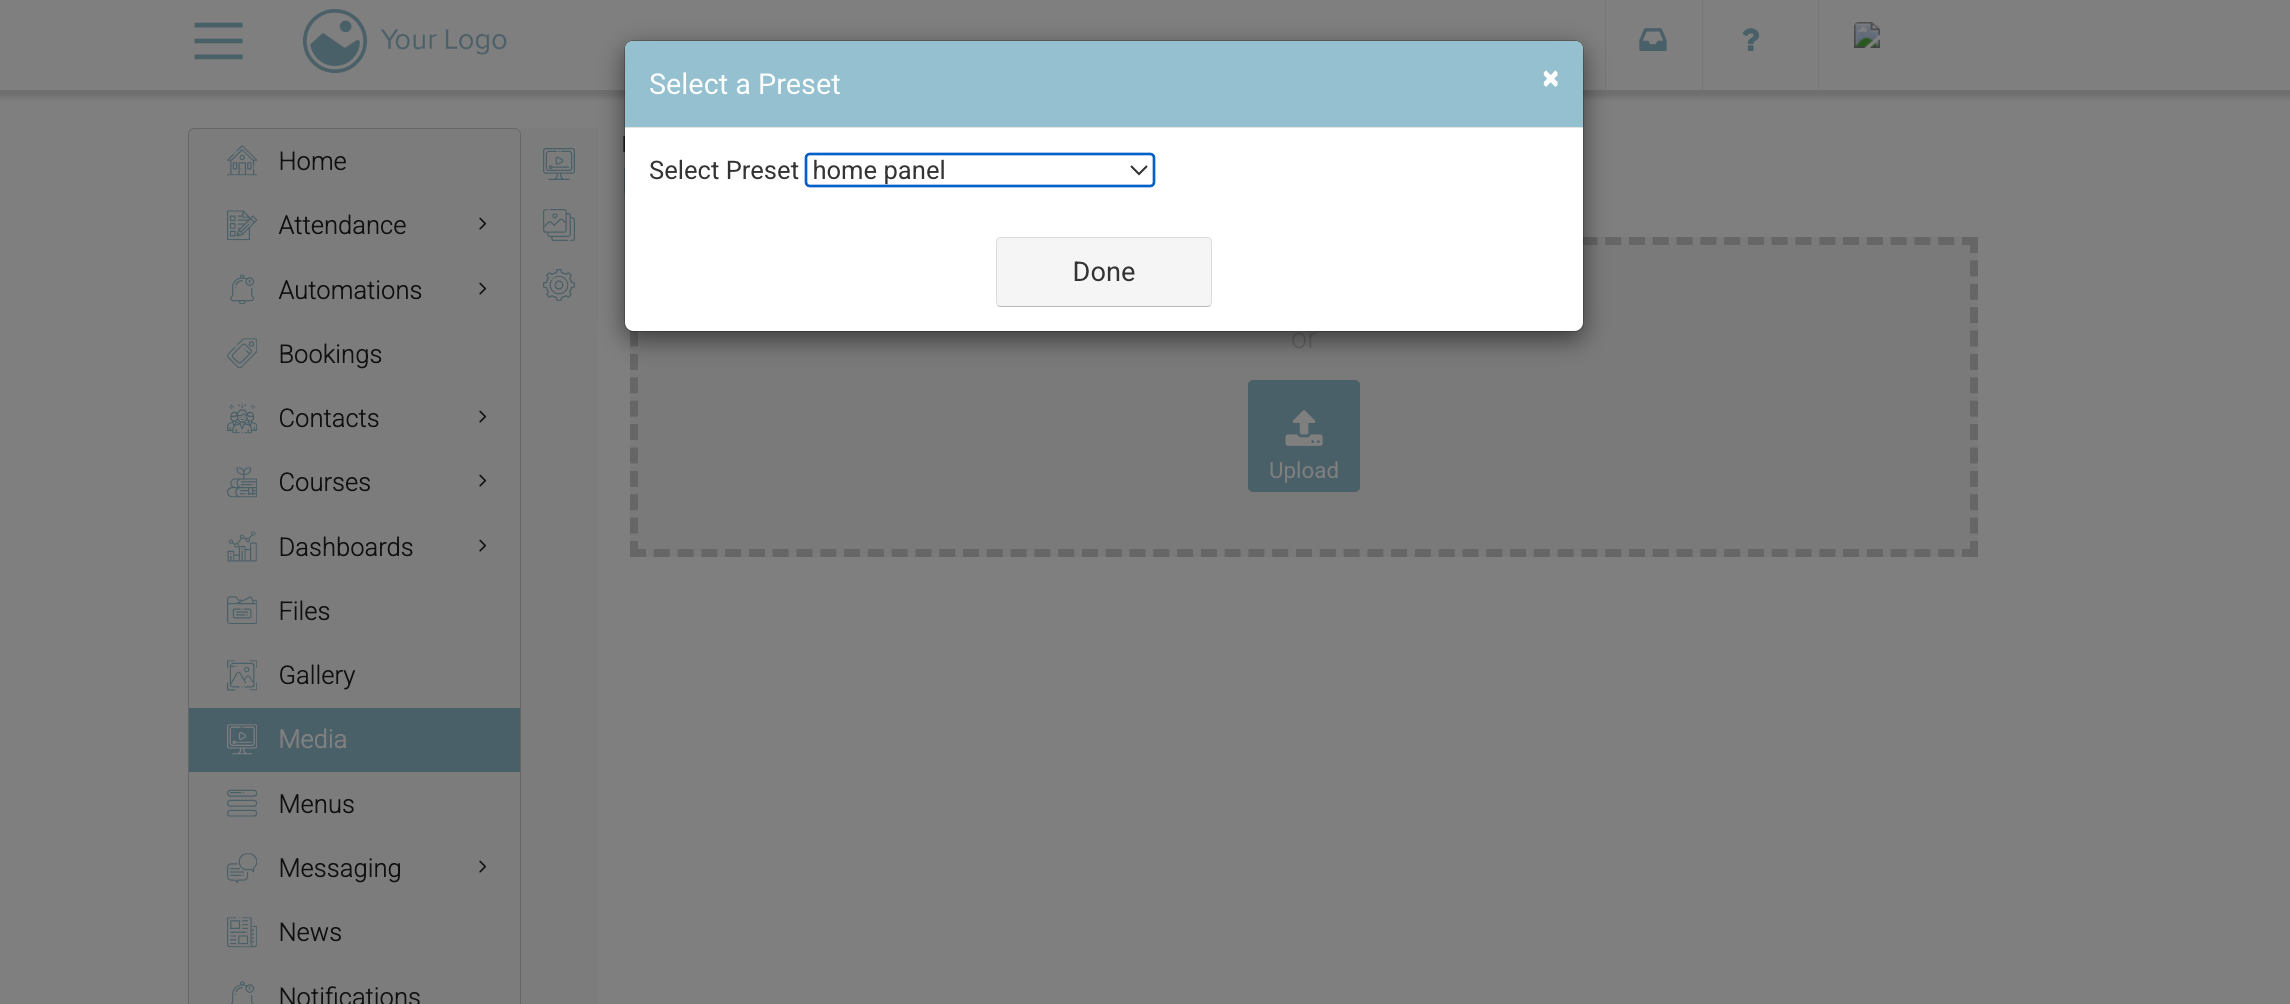
Uploading Panel Image via Media
Prep your image locally - preset standard dimensions 640x248
Once ready, login as admin
Navigate to the media menu
Drag and drop the image
On the popup, select Preset ‘Home Panel’
Outcome:
Your image will be available to select when adding/editing the panel