A website menu is a series of linked items that serve customers in quickly navigating between the different pages or sections of your website.
This section shows how to add, edit and delete a website menu.
Adding a Website Menu
1. Navigate to Menus.
The Menus will be displayed.
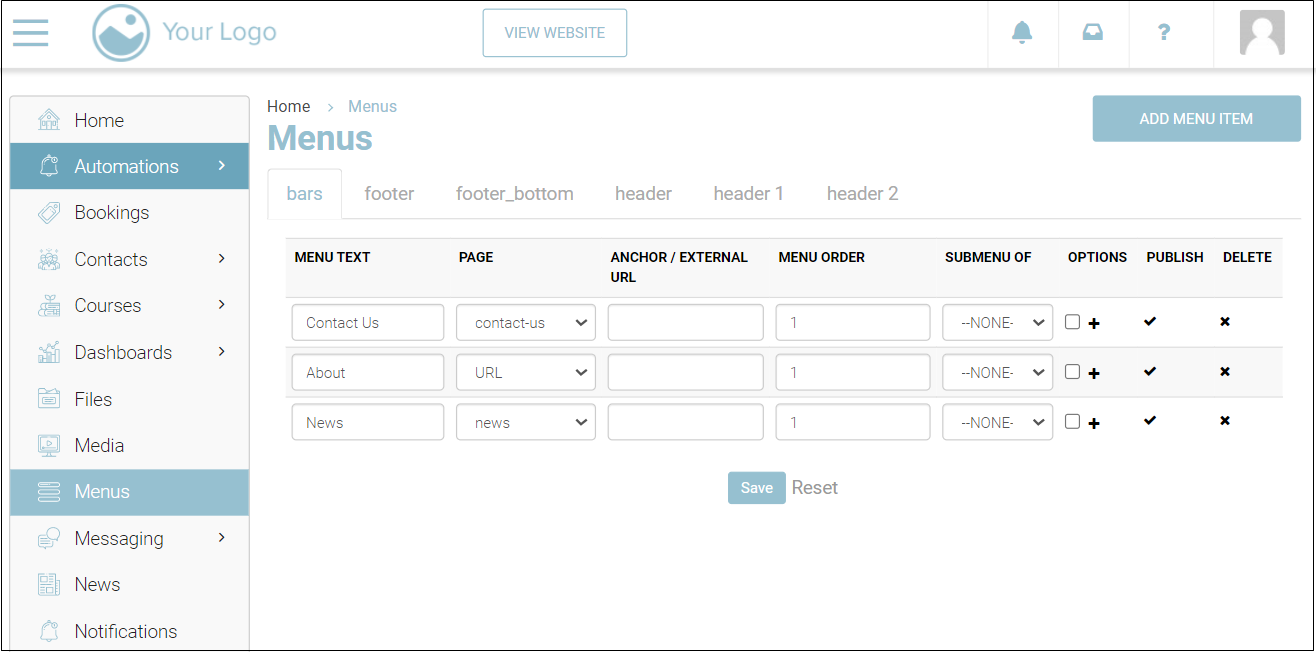
2. Select the Location of the menu where you wish to place it on the website by navigating to the relevant tab. The available location options to place the menu are bars, footer, footer_bottom, header, header1, and header2.
3. Click Add Menu Item.
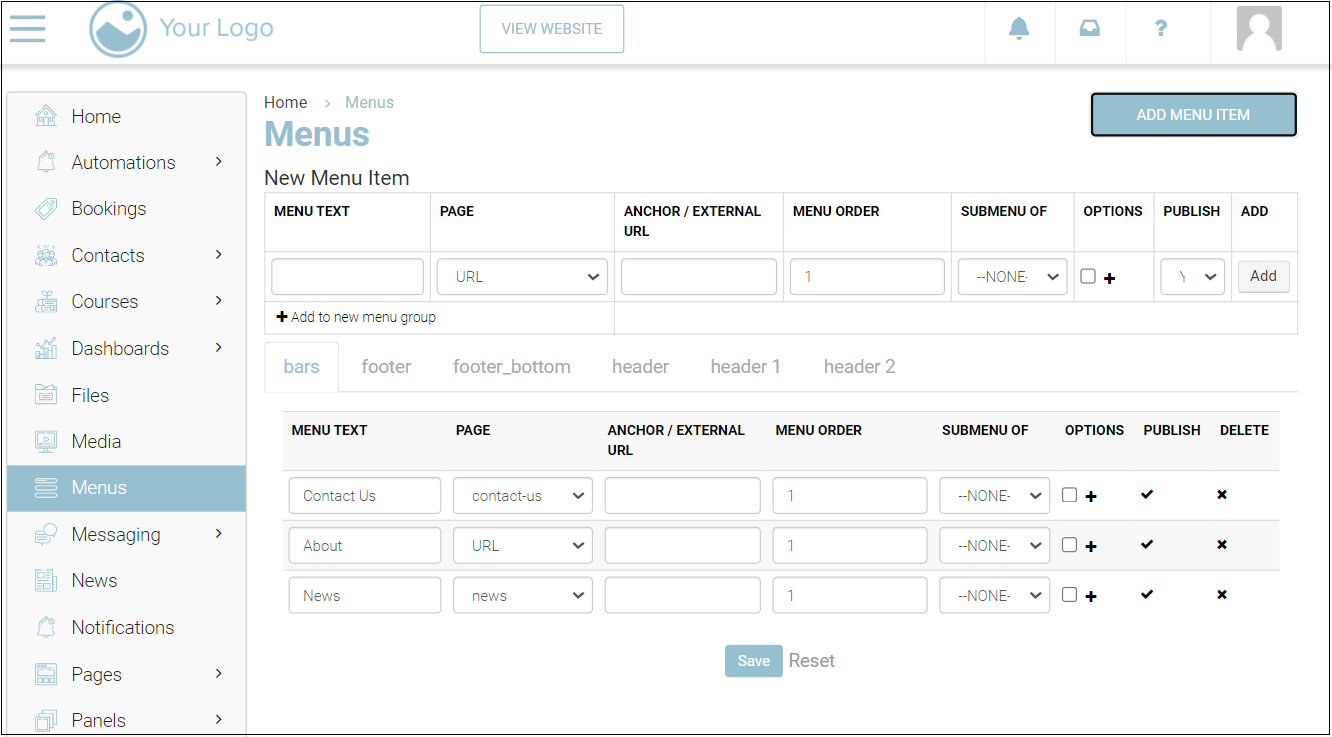
4. Enter the name of the menu in the MENU TEXT field. For example, Contact Us.
You can link a menu to a page either before or after you create the menu.
5. From the PAGE dropdown list, select the page on your website to which you want to link the menu.
6. You can link the menu to an external URL or provide the anchor text to the menu. The anchor text will be displayed as a tooltip when hovered over the menu. In the ANCHOR / EXTERNAL URL field, enter the URL of the external website or the anchor text.
7. In the MENU ORDER field, enter the order number at which you want the menu to appear on your website.
8. From the SUBMENU OF dropdown list, select the menu to which the menu being created belongs. For example, if the new menu is Contact Us and you want to place it under the menu About Us. Then you should select About Us from the SUBMENU OF dropdown list.
9. Select Save
Keep the front-end and back-end of your website open in two different tabs. Each time you make a change and save, refresh the front-end to view the changes easily.
Adding an image to the website menu
-
complete the steps above for adding a menu
-
To add images to the menu, check the Options column and click the + icon.
-
The Edit menu item dialog will be displayed.
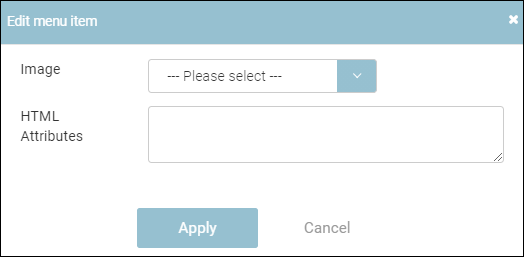
4. From the Image dropdown list, select the image/icon you want to add to the menu.
5. In the HTML Attributes field, enter additional attributes in Raw HTML. E.g., class="example" title="Title Text”and click Apply.
6. To publish the page, select Yes from the PUBLISH dropdown list.
7. Click Add.
Editing a Website Menu
You can edit the menus of your website to change details such as menu name, page to which it is linked, order of appearance, the menu under which this menu item will appear, publish/unpublish the menu, and delete the menu.
1. Navigate to Menus.
The Menus page will be displayed.

2. Edit the values of required fields in the row of the menu you want to edit. For field descriptions, refer to https://ideabubble.atlassian.net/wiki/spaces/TP/pages/2223342019/Managing+a+Website+Menu#Adding-a-Website-Menu.
You can unpublish the menu and still keep it for future use.
3. To publish/unpublish the menu, click the tick icon/x icon under the PUBLISH column.
4. To delete the menu, click the x icon under the DELETE column.
5. Click Save.
The updates will be reflected on the website.
Deleting a Website Menu
Suppose you wish to remove a particular menu from the website, you can do so by deleting them.
1. Navigate to Menus.
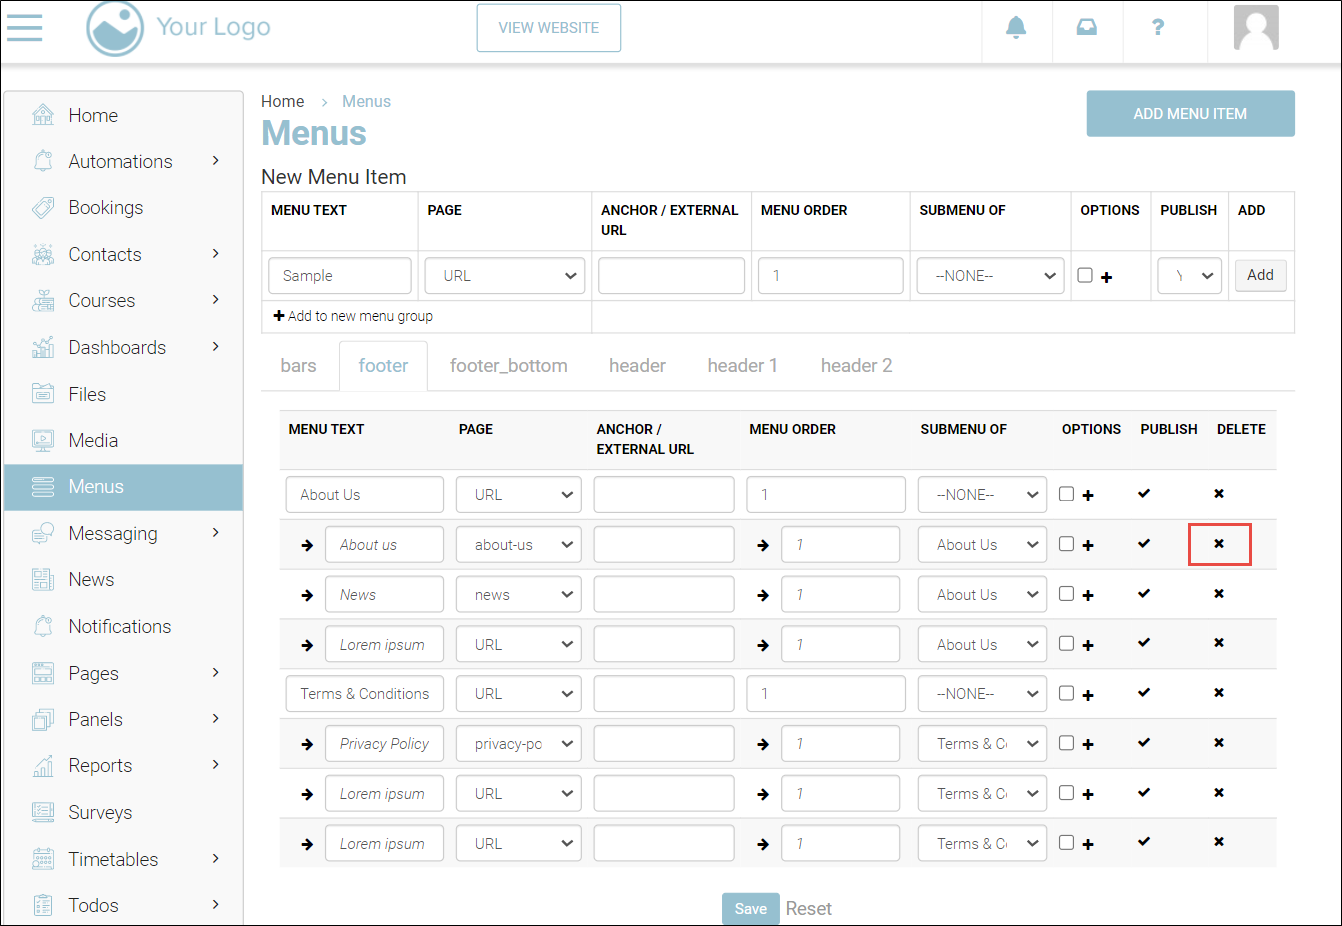
2. Click the Delete icon next to the menu you wish to remove.
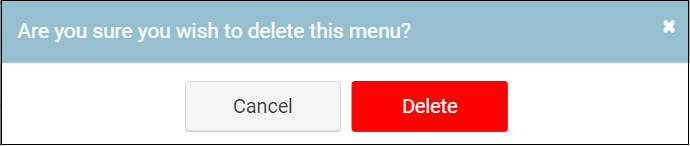
3. Confirm Delete.
The menu will be removed.
Adding a Menu that opens in a new tab
-
Follow the steps for adding a website menu
-
On the options column, tick the box
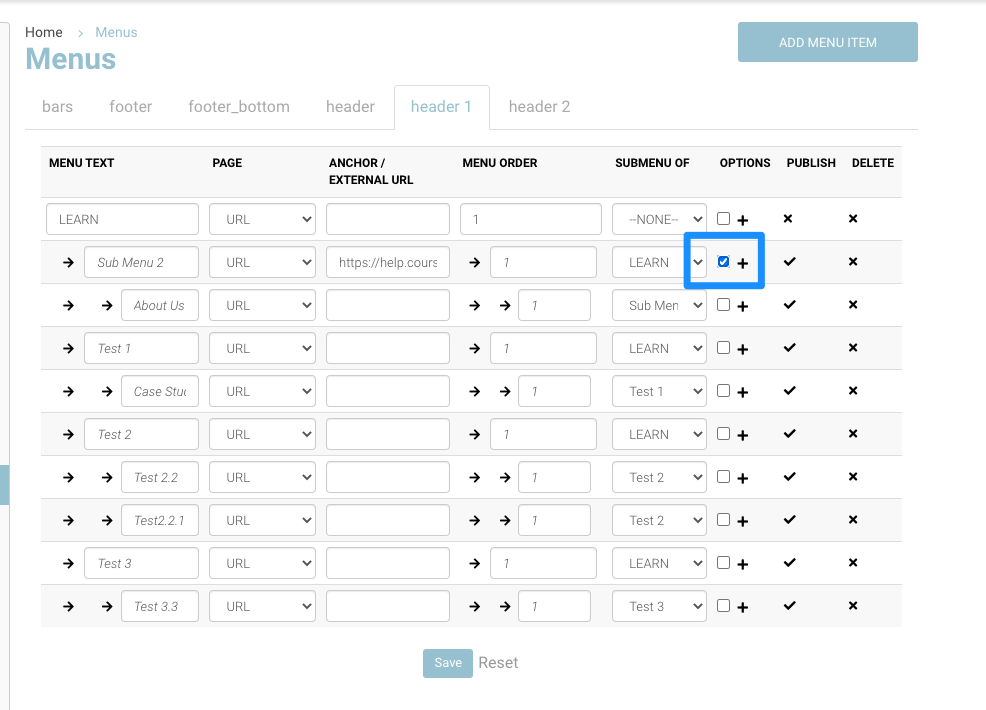
Outcome: When someone selects the menu on the website, the page will open in a new tab
Menus that open in a new tab are only available for sub-menus and currently unavailable for Main menu eg in the example LEARN