Creating a questionnaire | MCQ (Multiple choice questions)
Step 1: Open the Questionnaires Section
Navigate to the left menu.
Click on "Questionnaires" to access the questionnaire management section.
Step 2: Add a New Questionnaire
Click on the "Add New" button.
Organize your questionnaire by groups to help administrators keep their questions structured and easily manageable.
Step 3: Add Questions
Inside your newly created questionnaire, start adding questions.
Use the edit form to format text using bold, italics, or to insert images for better clarity.
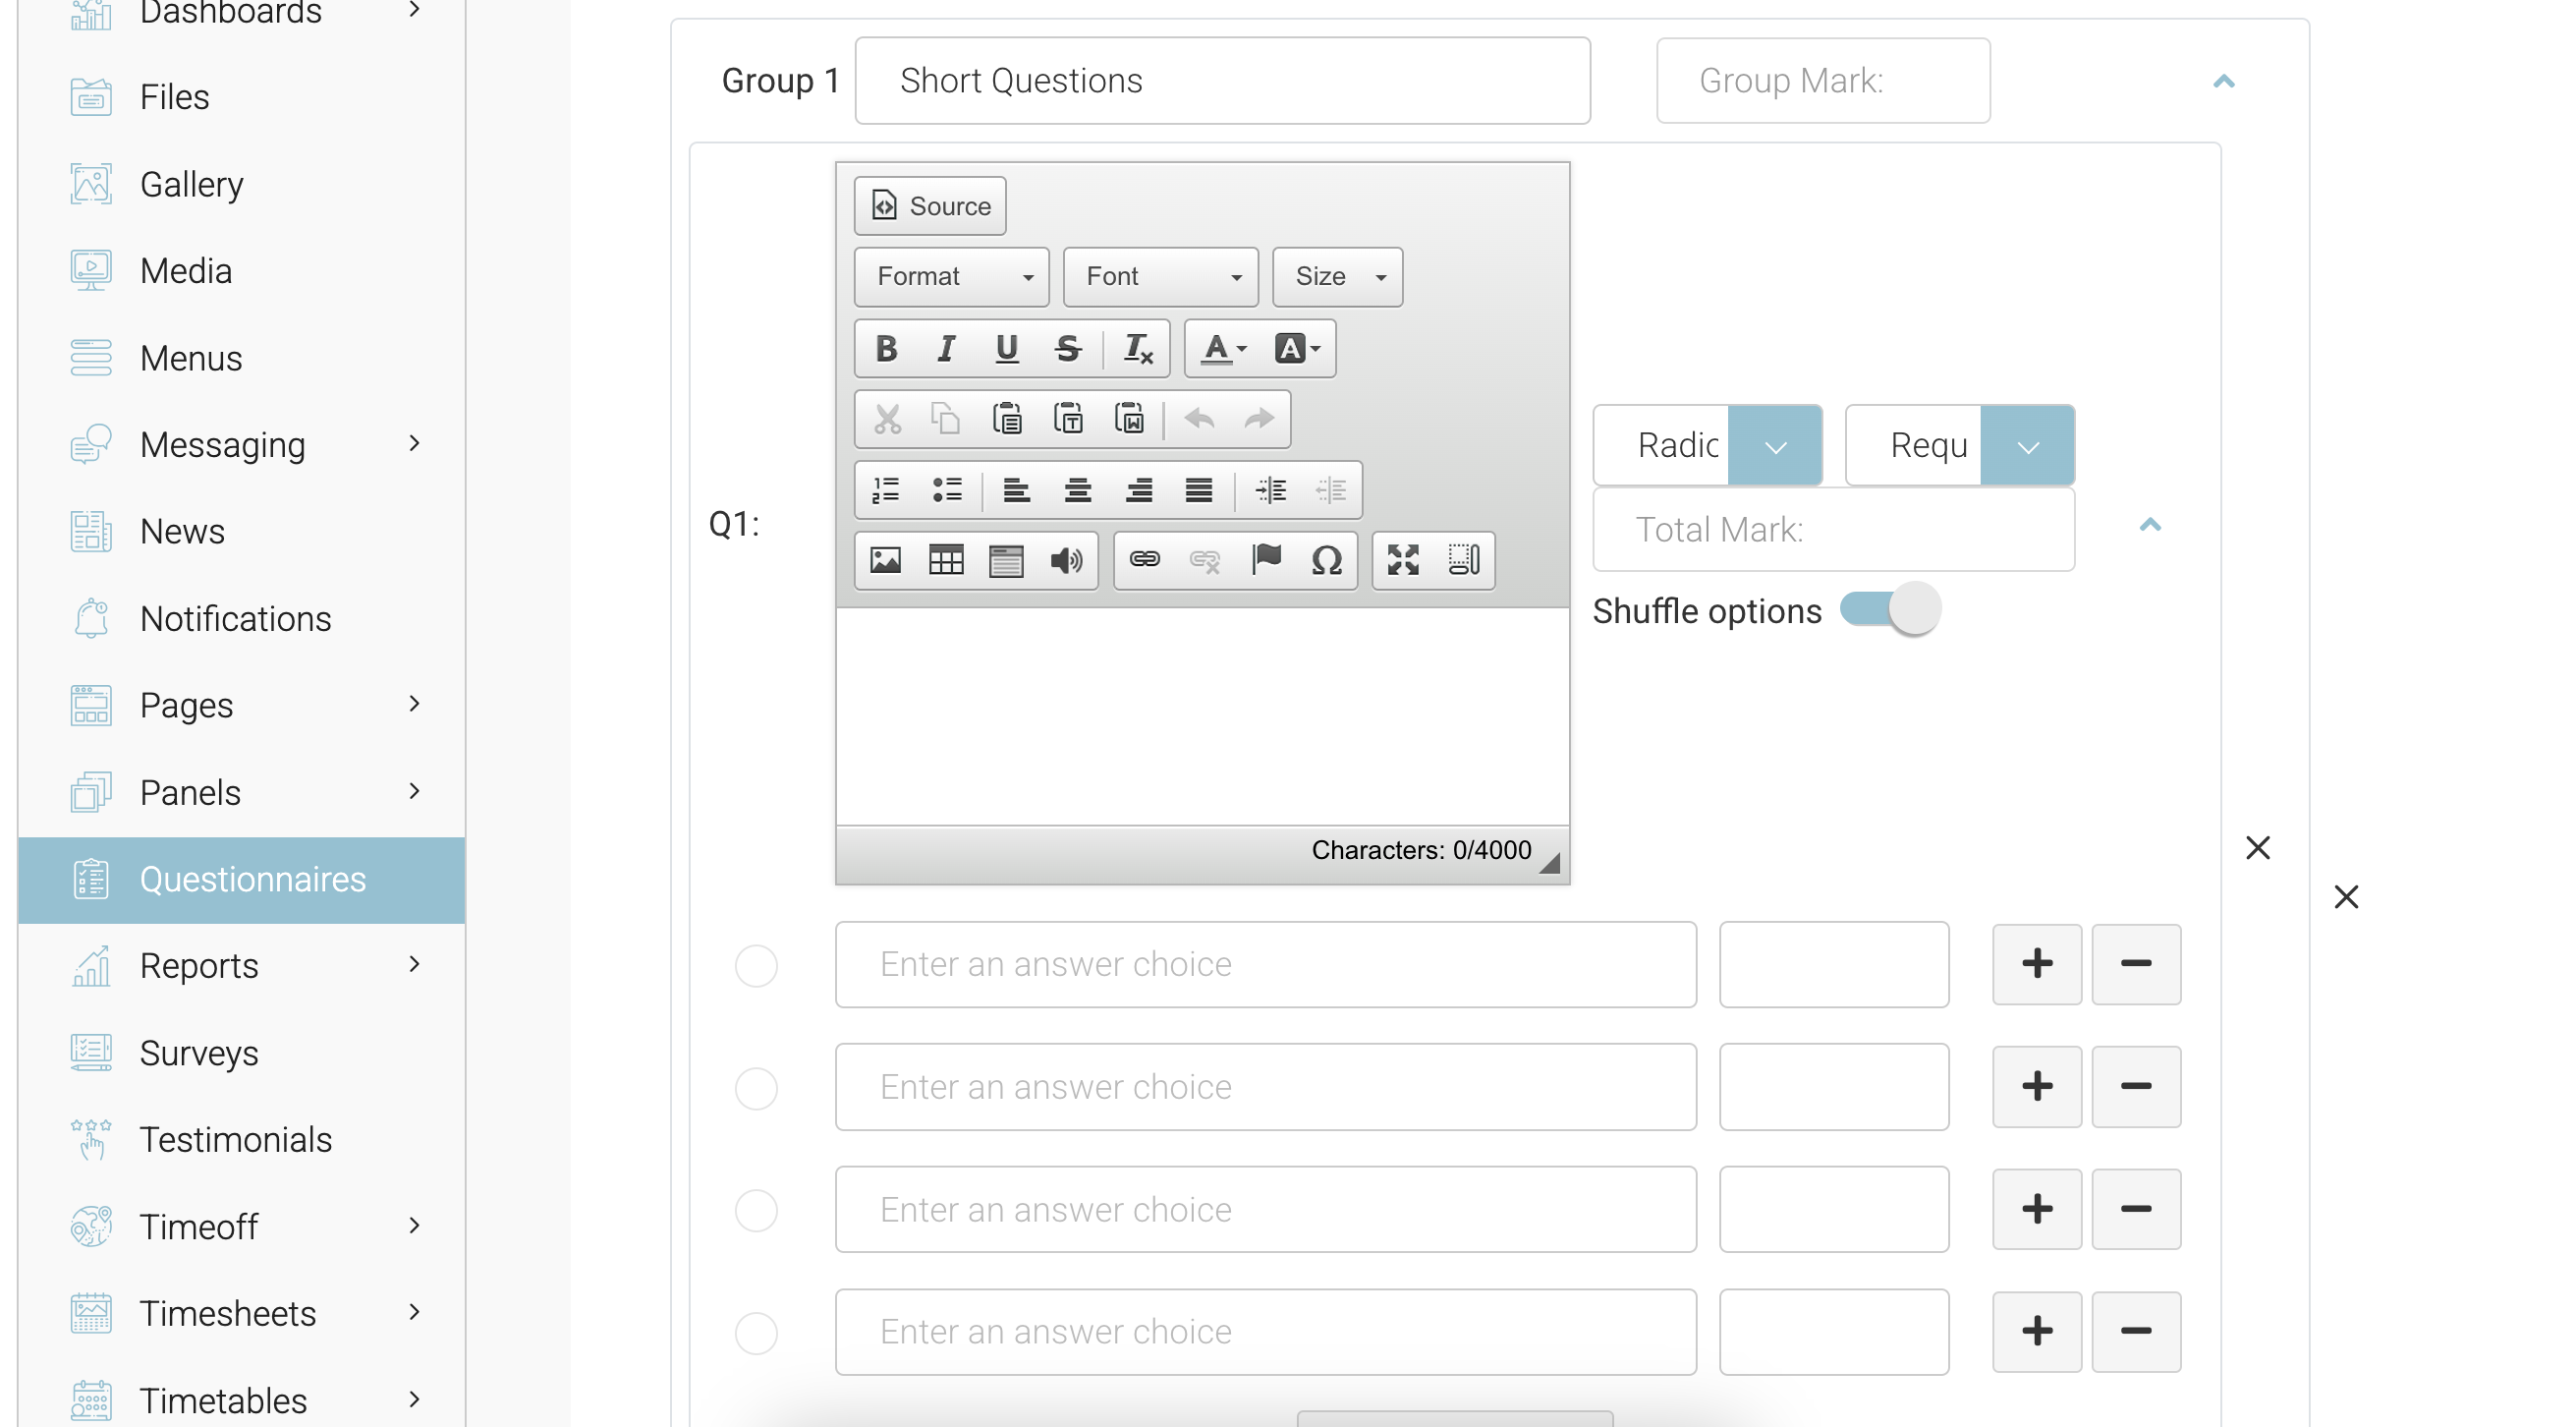
Step 4: Set the Correct Answer
For each question, select the correct answer by marking it on the right side.
Note: The system only supports a single correct answer; multiple correct answers are not allowed.
Step 5: Save the Questionnaire
Click "Save" to store your questionnaire.
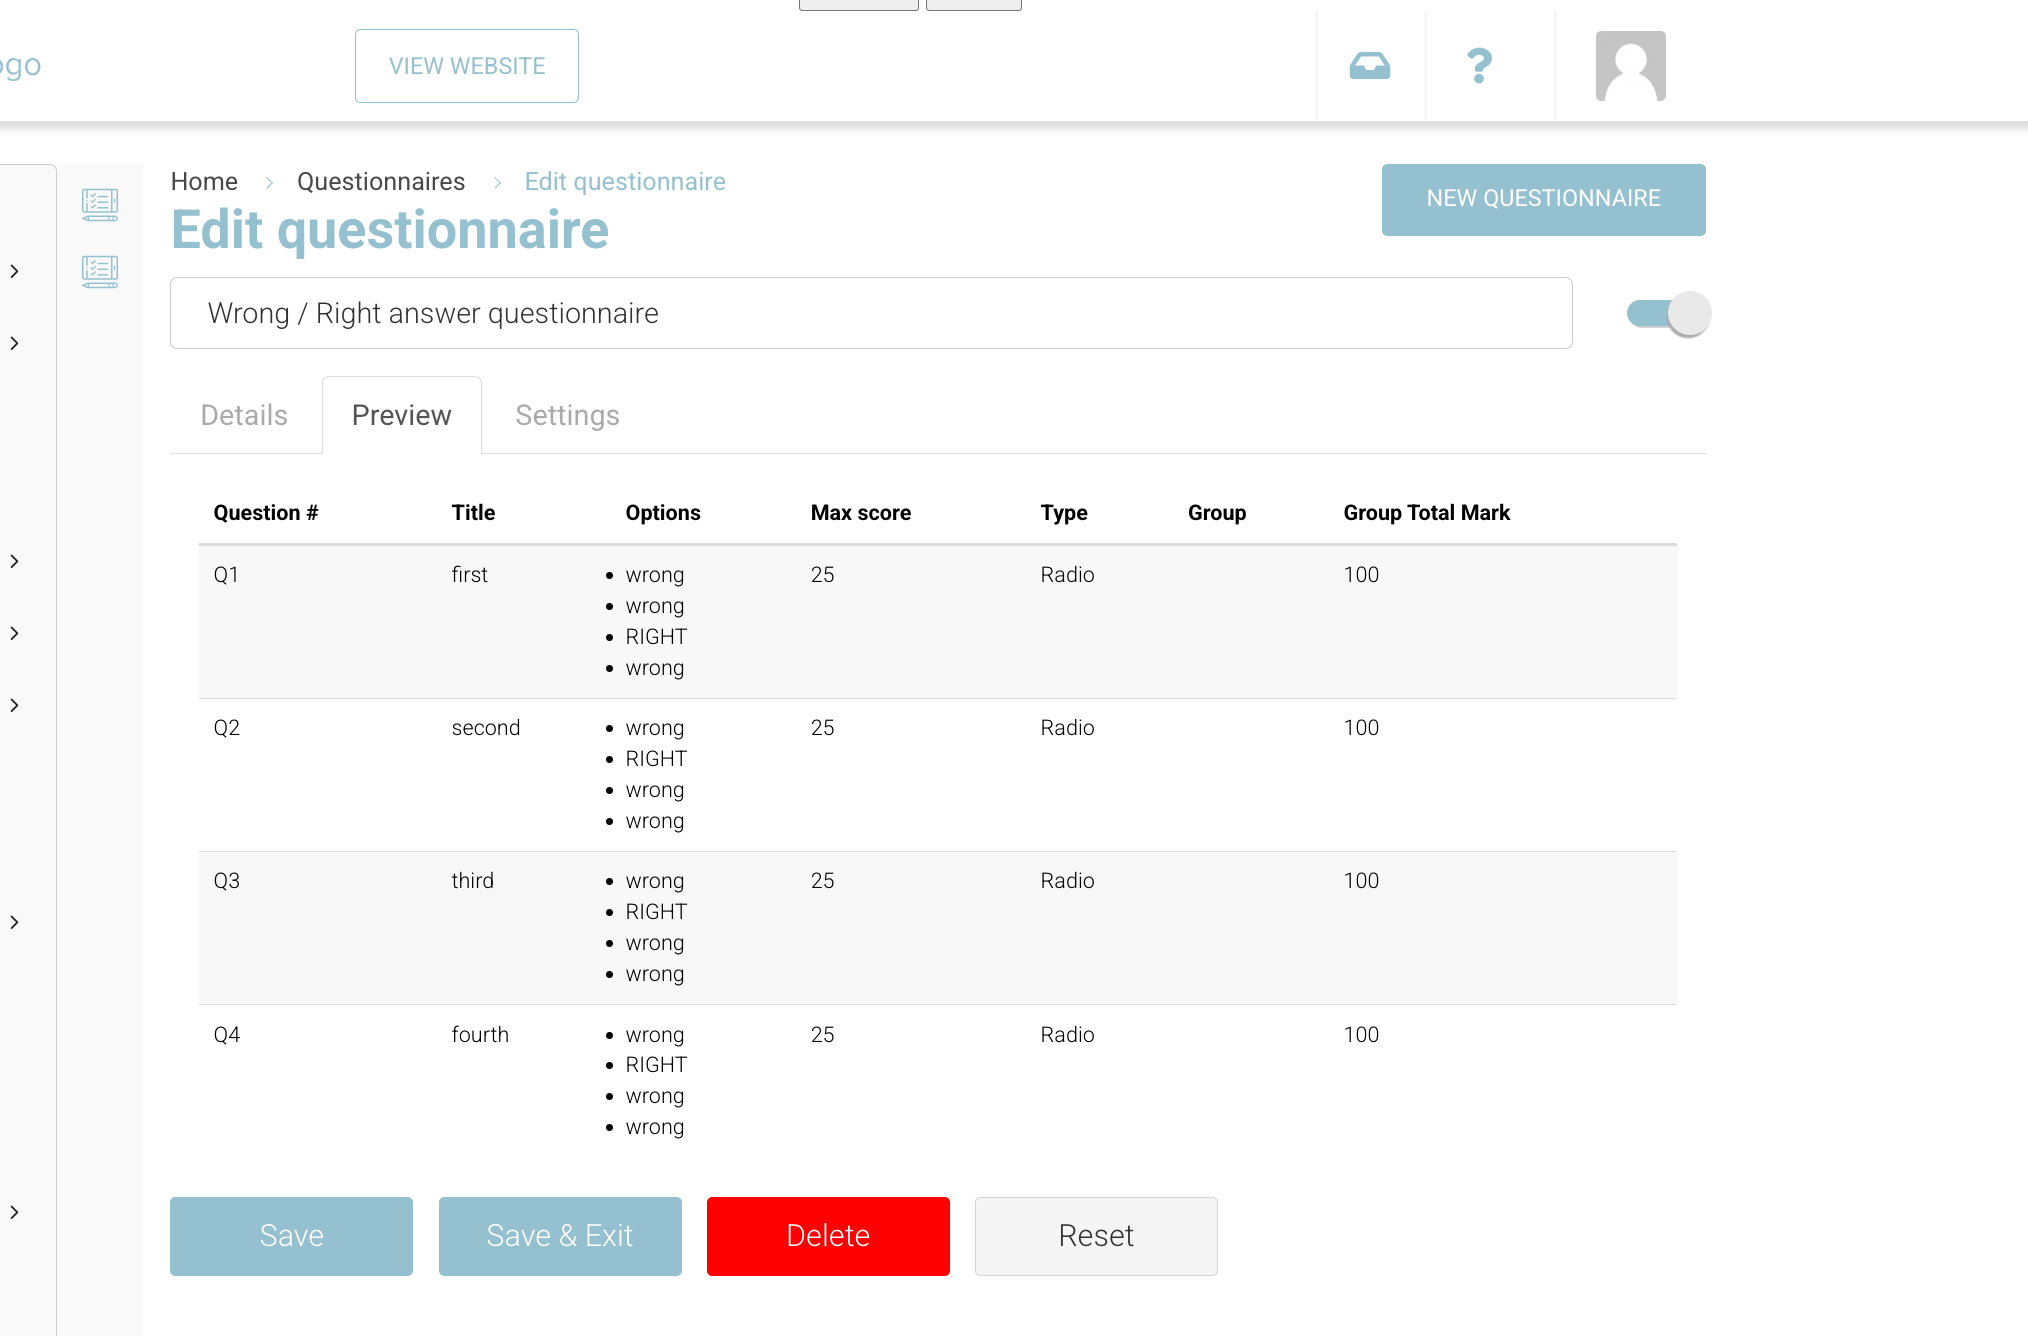
Outcome
Your questionnaire is now created and can be edited if needed.
To review your questions, go to the "Edit" screen and navigate to the "Preview" tab.
This will display all questions in a list format with the correct answer visibly marked.
Next Steps
Once your questionnaire is complete, you can add it to a schedule by navigating to:
Schedule > Content Section
Your questionnaire is now ready for use! 🚀