Creating a Survey
Step 1: Accessing the Surveys Plugin
In the left menu, click on the Surveys plugin.
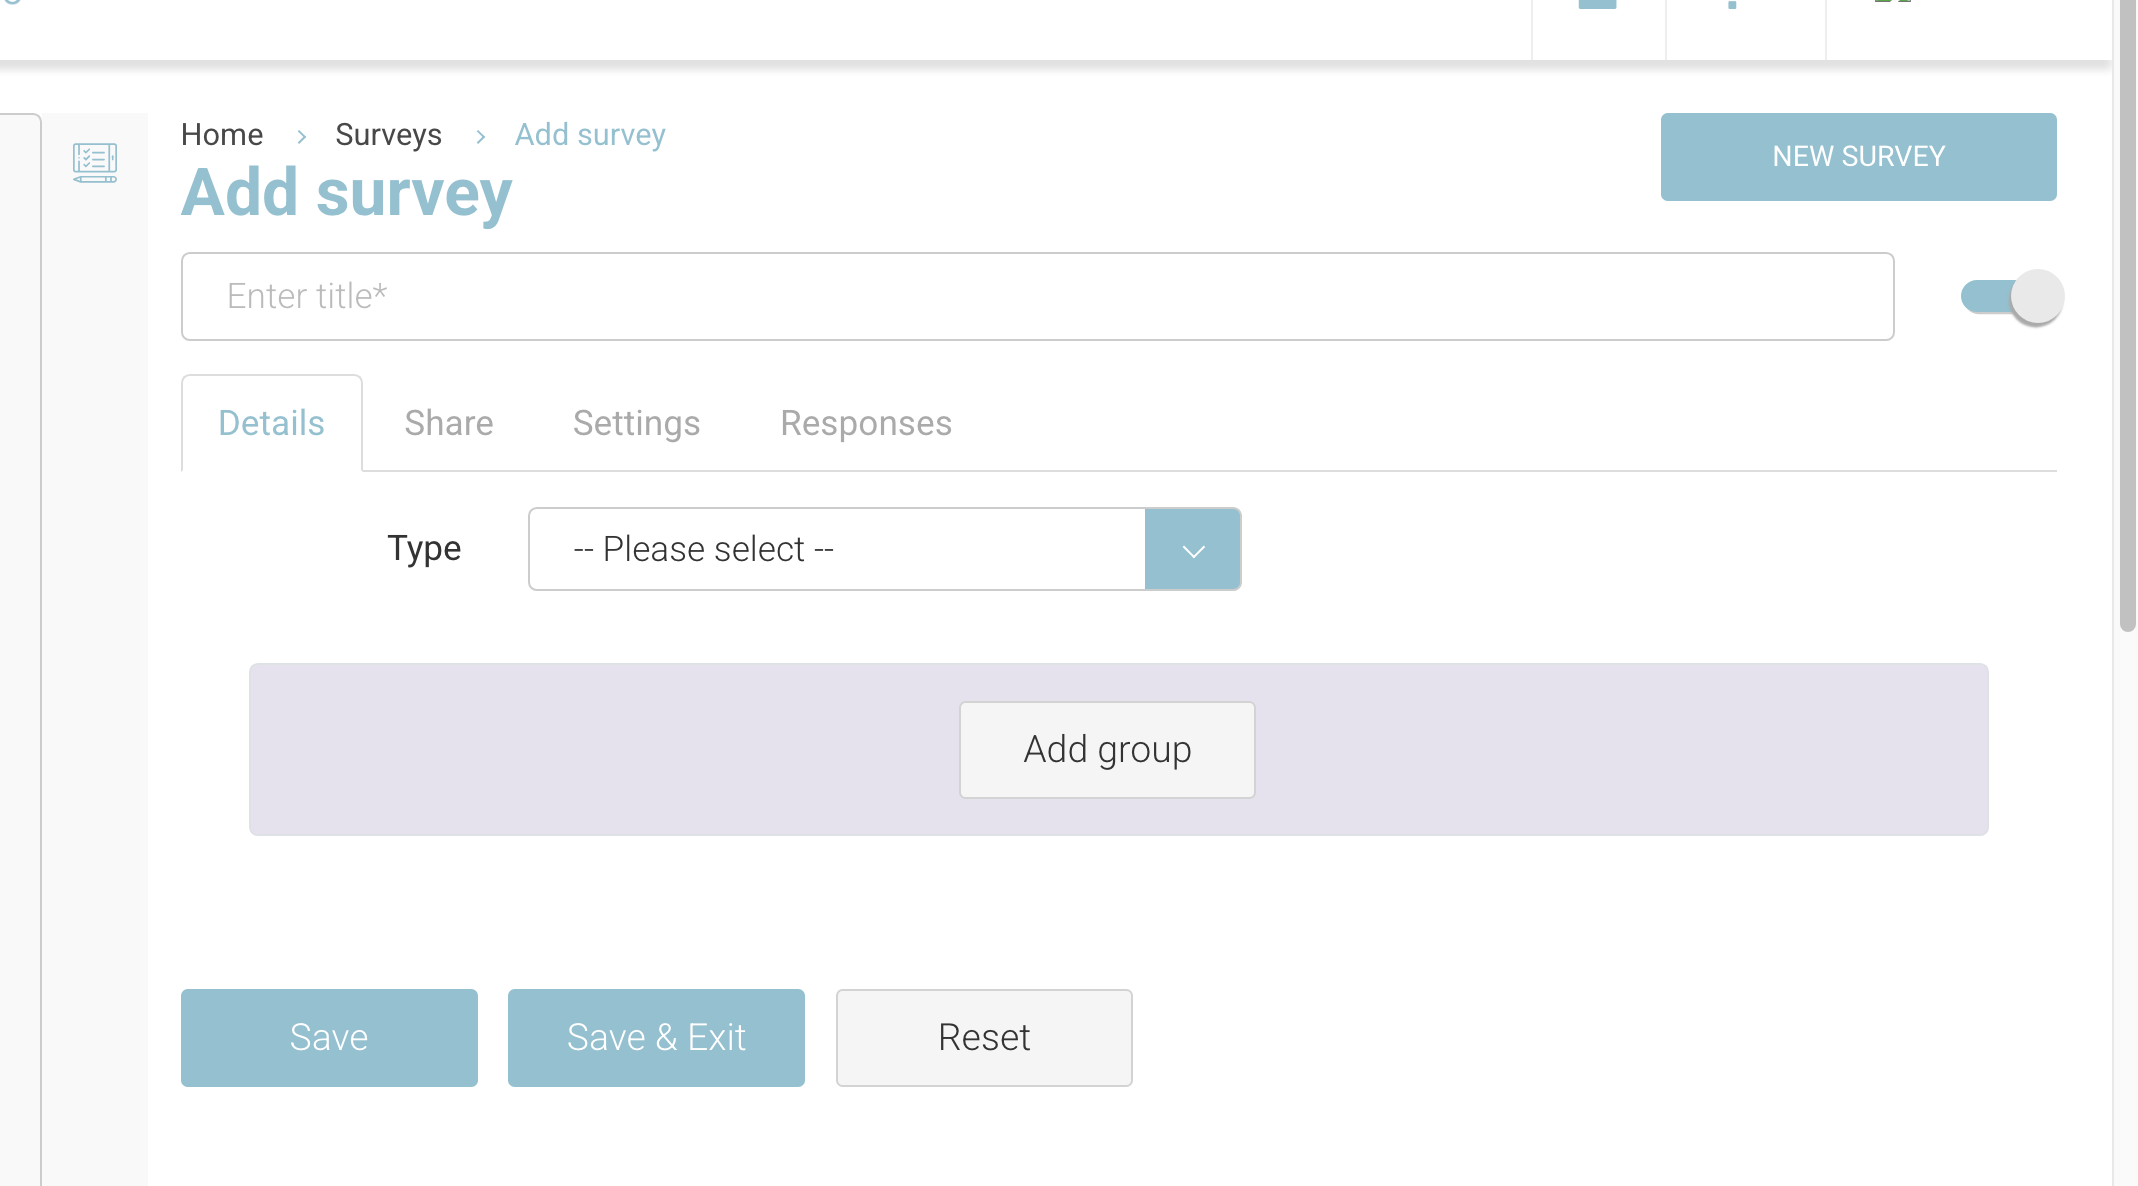
Click the New Survey button to create a new feedback survey.
Step 2: Setting Up the Survey
Enter the title of your survey in the Title field.
Select Feedback from the Type dropdown menu.

Step 3: Adding Groups and Questions
Click on the Add Group button to create a group.
Each group represents a separate page in the survey.
Students must complete each page before moving to the next.
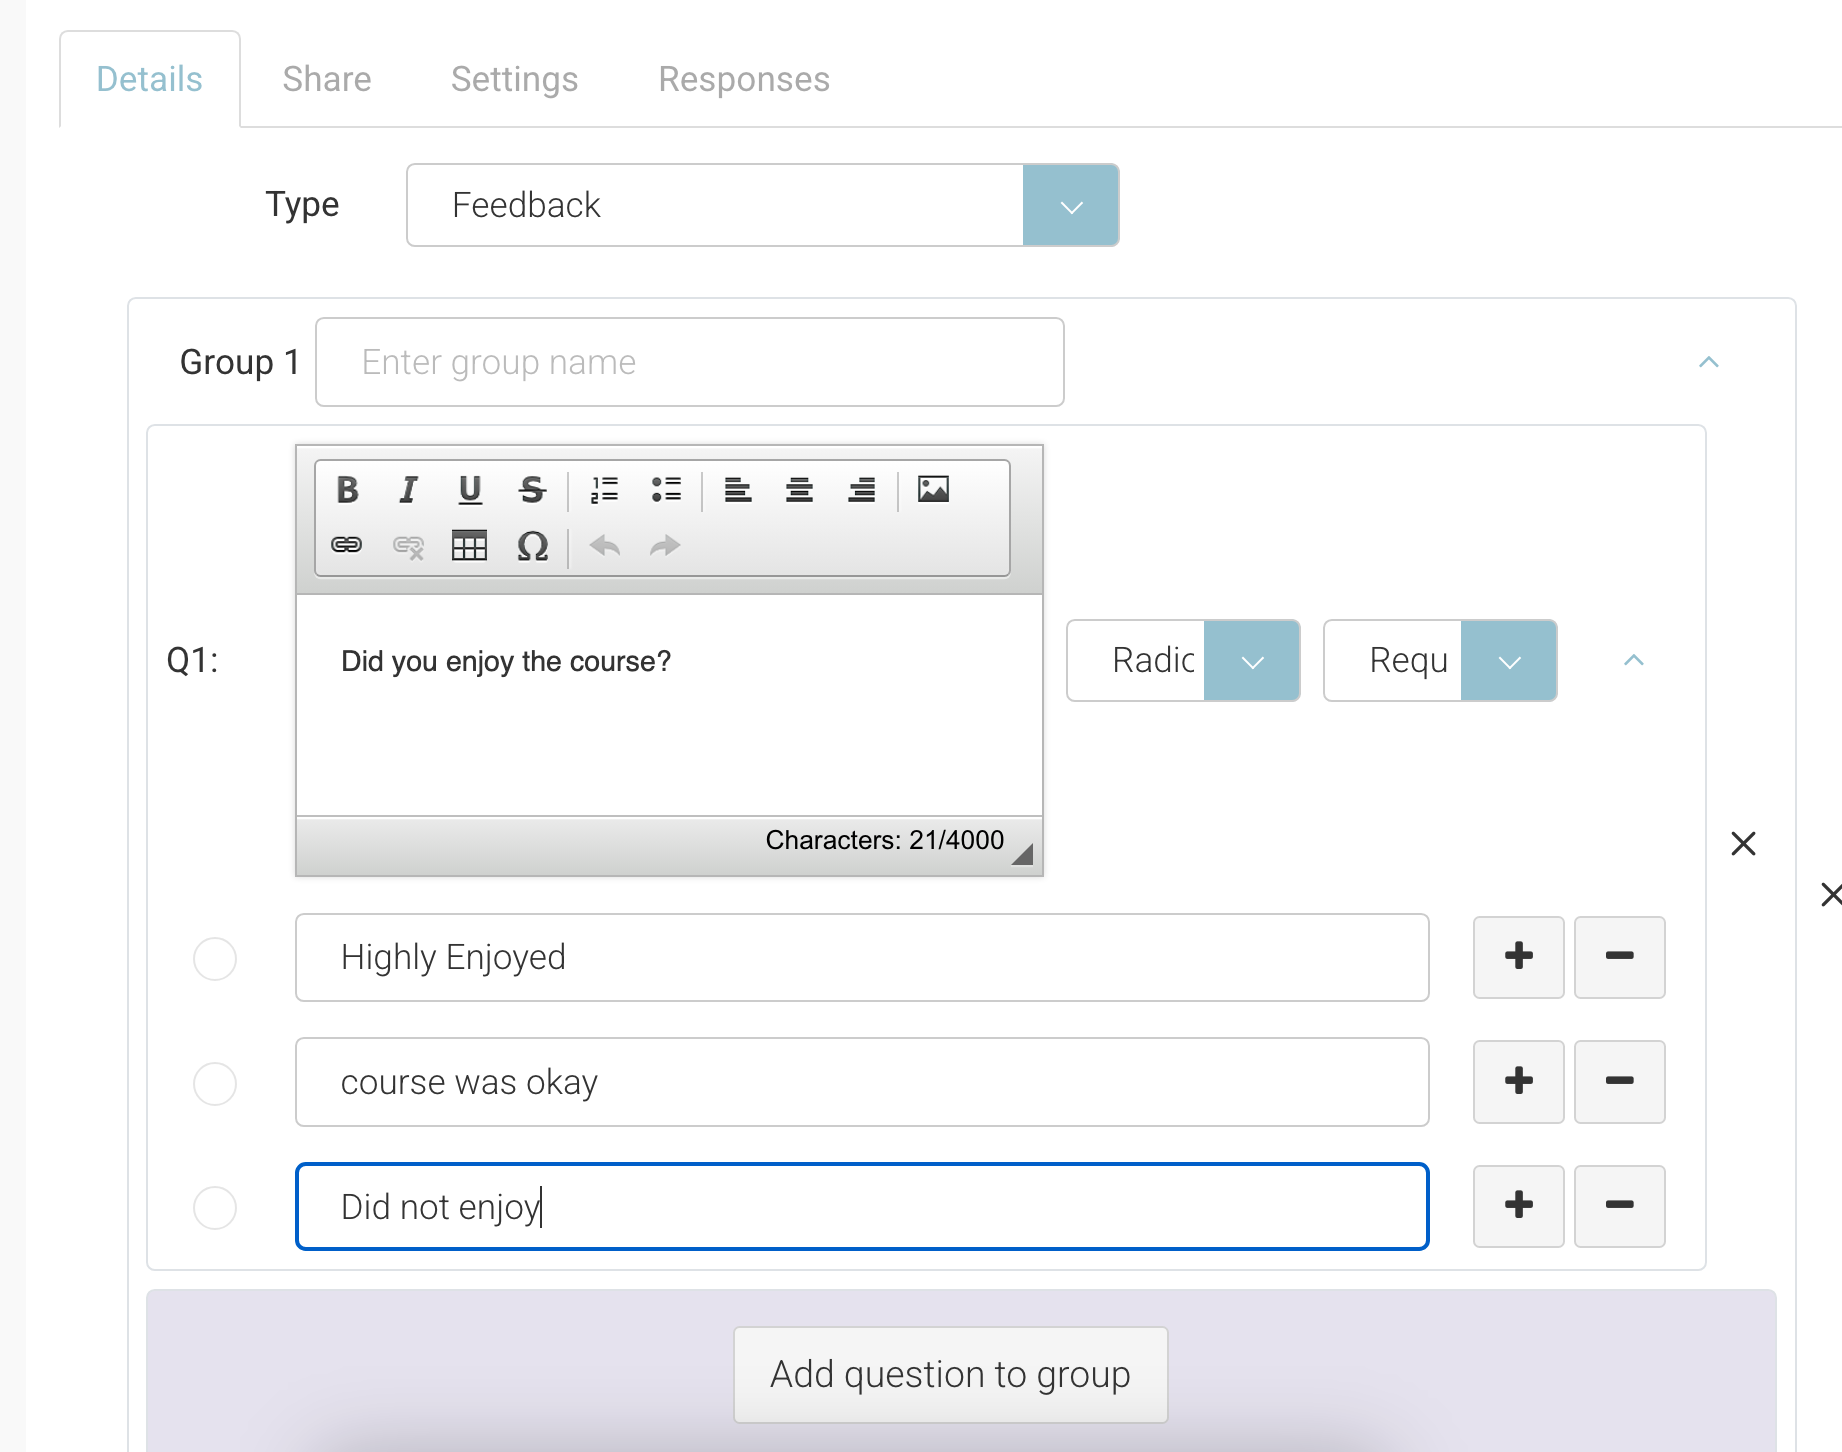
Enter the Group Name as shown in the reference image.
Click on Add Question to Group to add a question.
Enter the question in the text editor.
Select the answer type:
Radio Button Group: Provides multiple choices for respondents to select from.
Use the + button to add more options and - to remove options.
Text Area: Requires respondents to enter a written response.
Specify if answering the question is optional or mandatory using the required option dropdown.
Repeat these steps to add more groups and questions.

Step 4: Configuring Survey Settings
Click on the Settings tab.
Configure the following options:
Has Expiration: Select if the survey has an expiry date and choose the date range. - We suggest keeping this off
Display per Group: Choose if you want the survey displayed per group (separate pages). Keep in 1 group and it will display on 1 page.
Show Thank You Message: Enable a thank you message upon survey completion. This page is setup within page. If you do not have access to Pages, CourseCo team will create a page with the content for you.
Click Save or Save & Exit to finalise the survey.
Outcomes
Your survey will be successfully created.
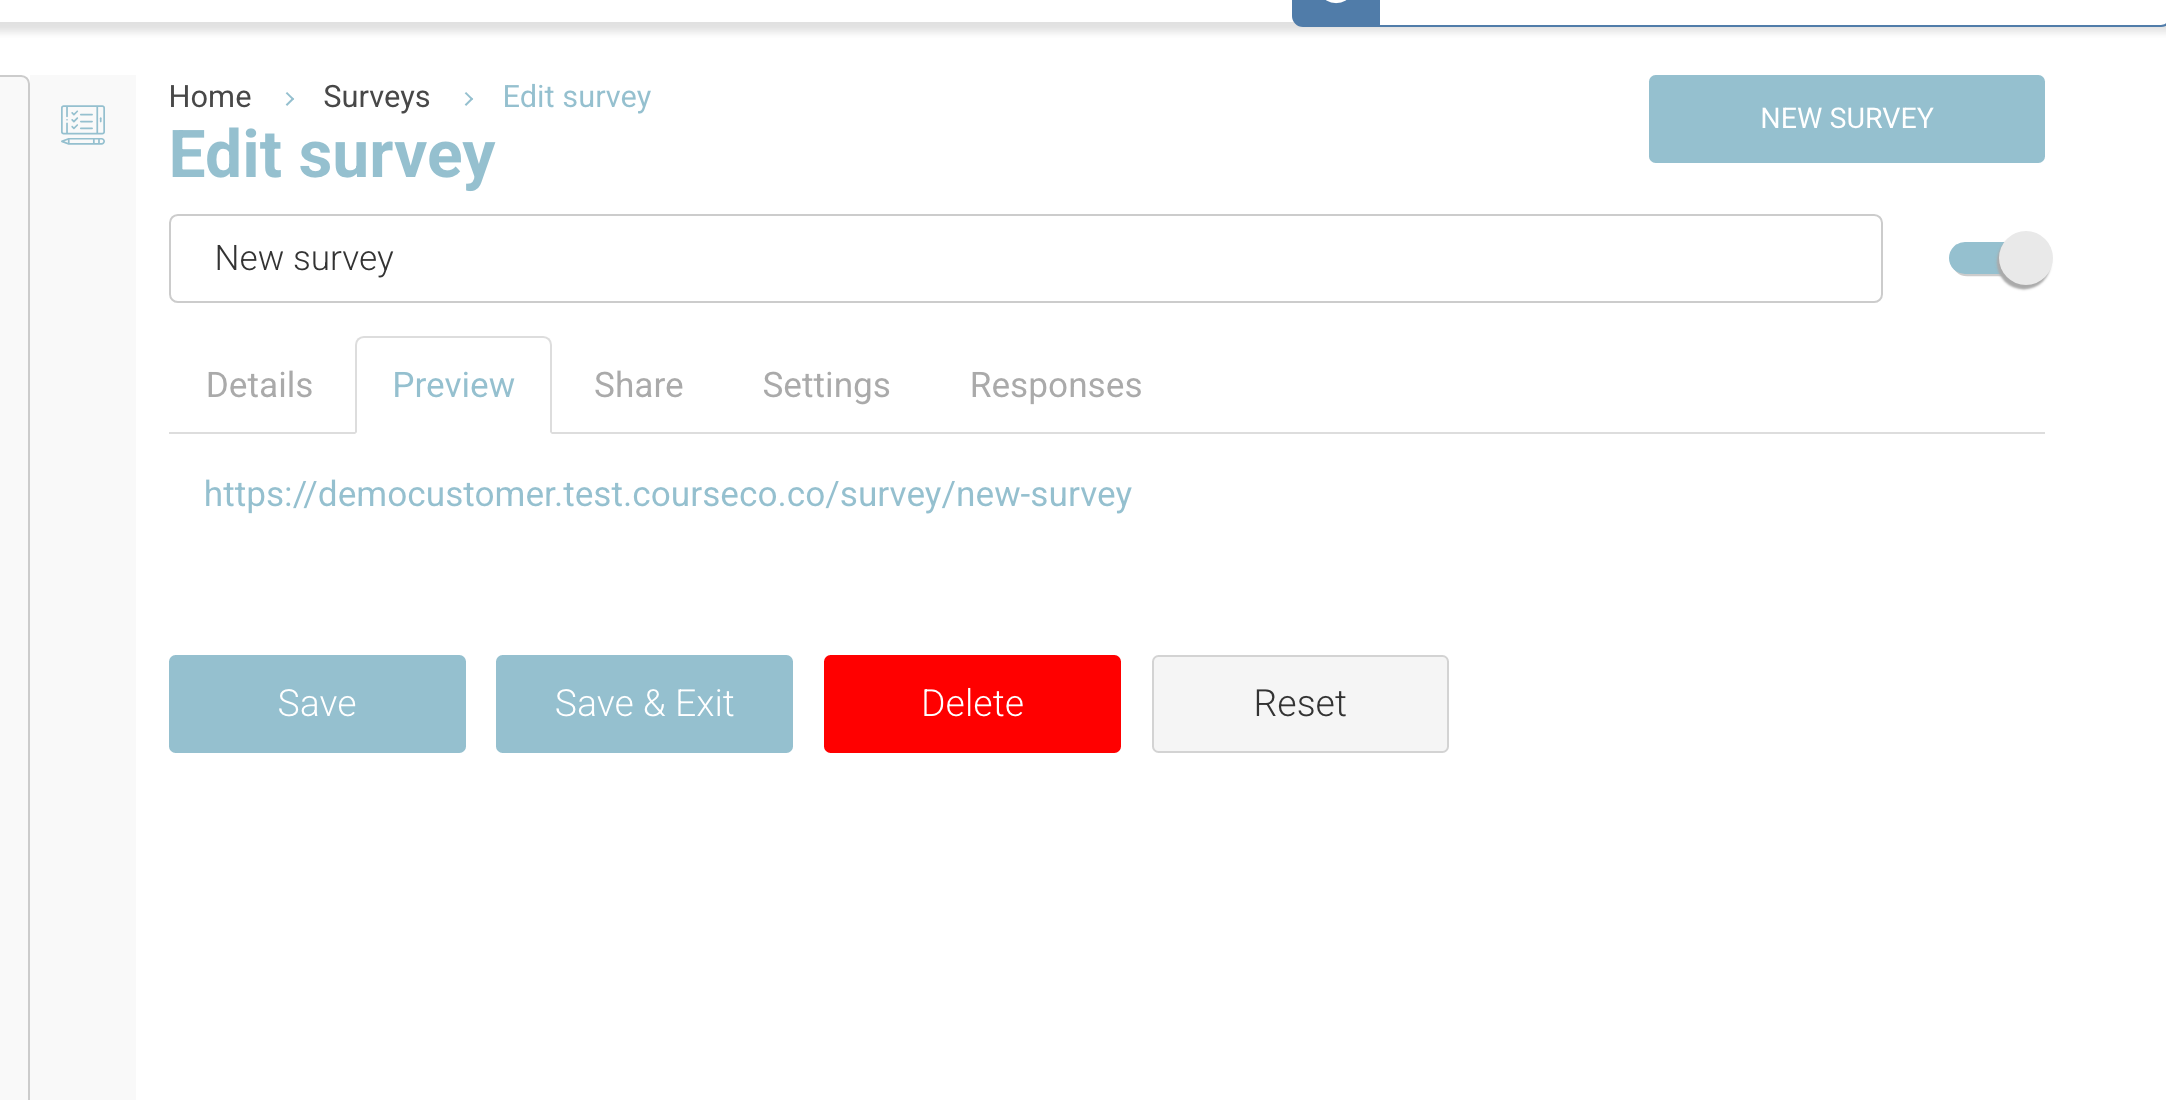
You can preview your survey in a new tab.
Share the survey link via the Messaging feature.
Feedback responses will be stored upon survey submission.

Survey - Preview link
