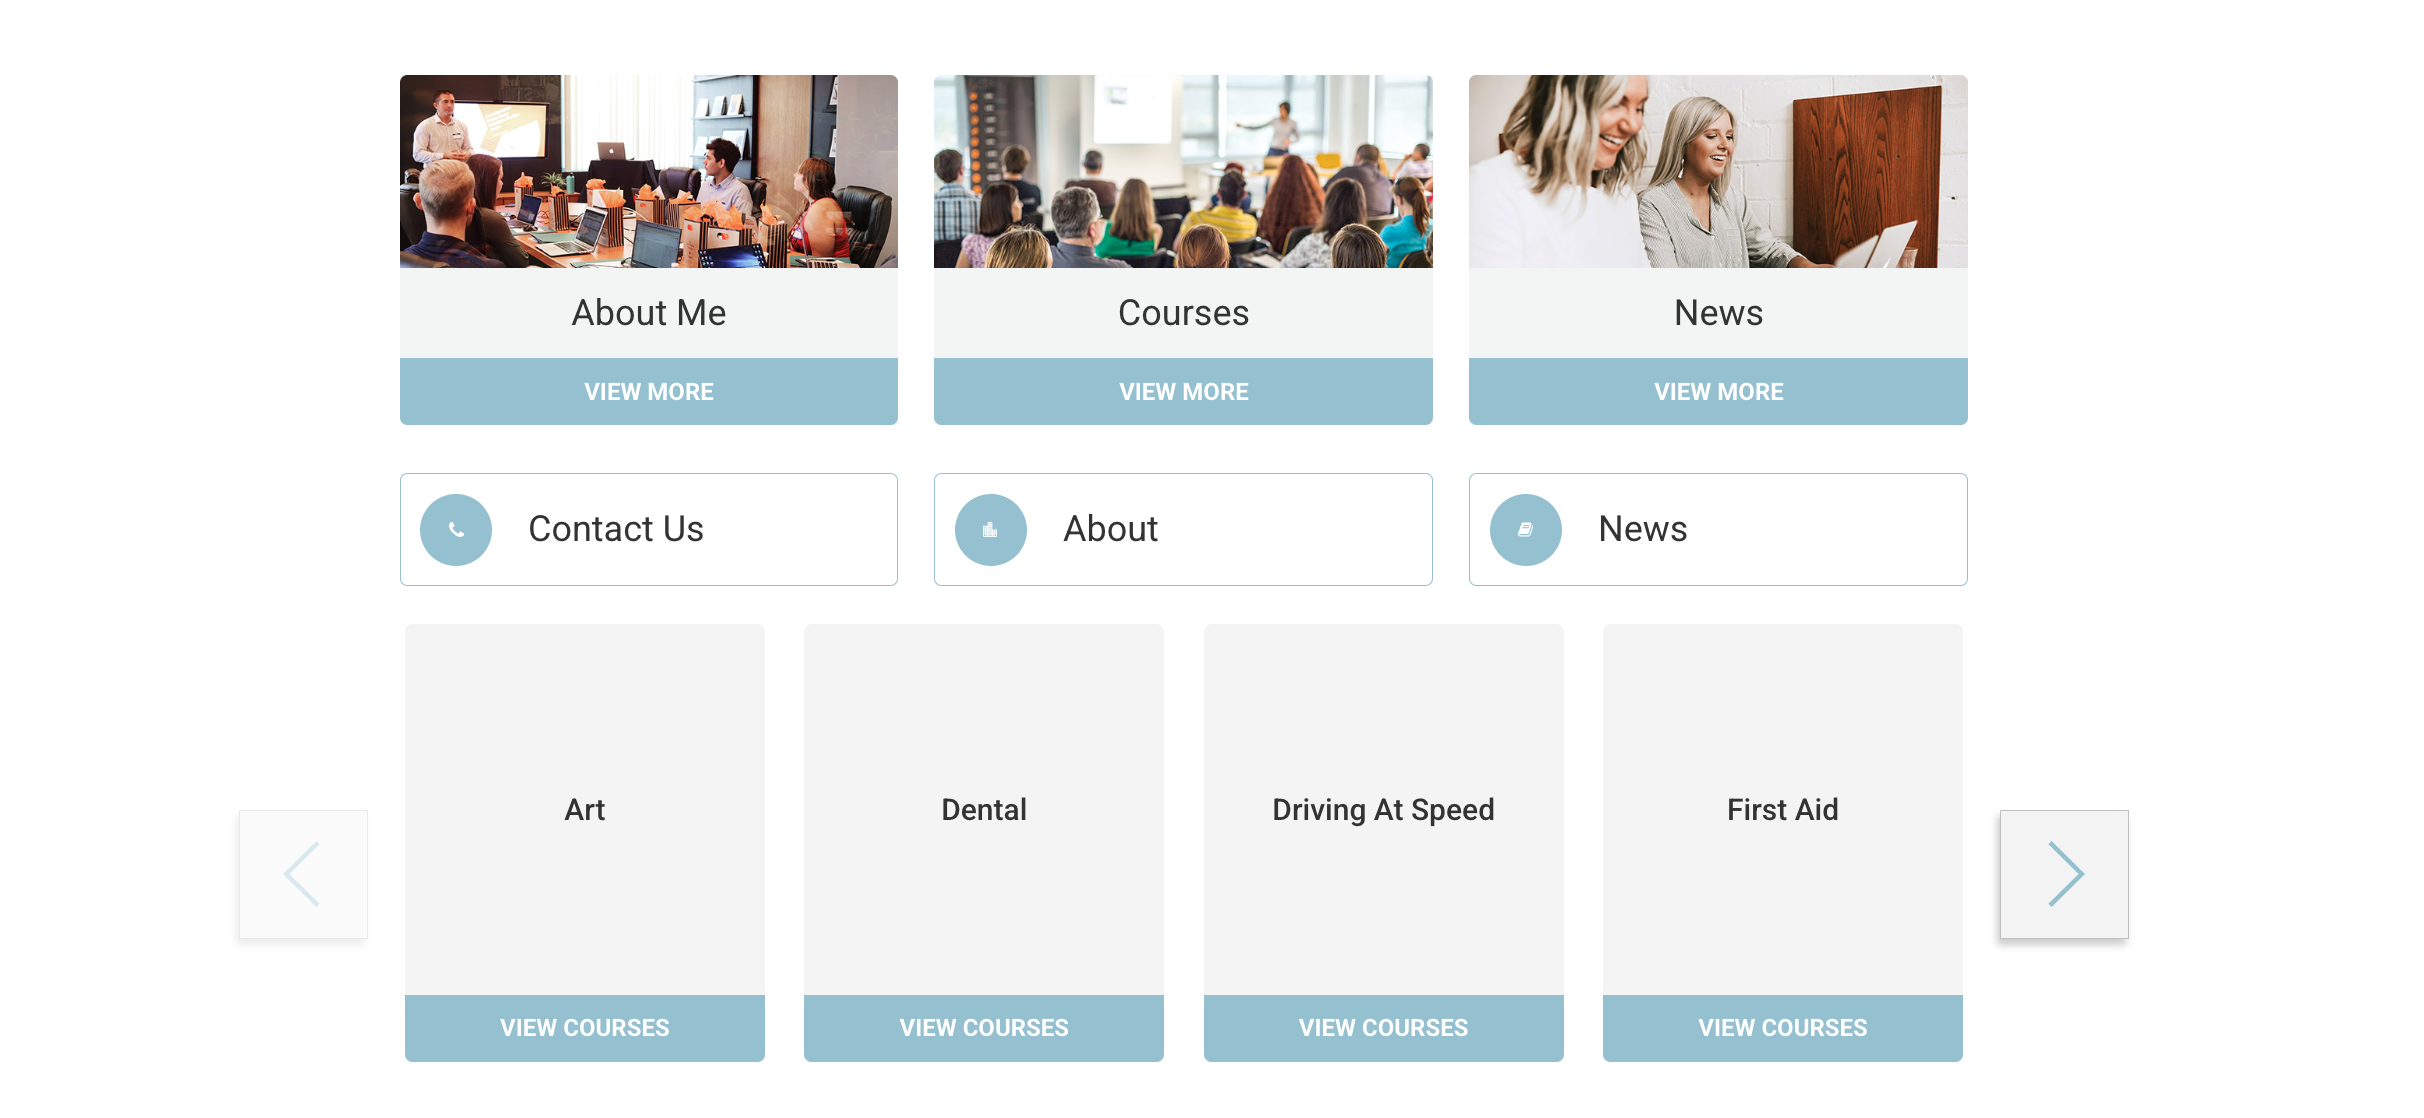
Course Category | Adding images to display on the Homepage 'Course Category' carousel
This guide explains how to upload images using the ‘Course’ preset (typically 235x179 pixels) and assign them to a Course Category. Once completed, the course category image will appear on the website homepage.
This option is available if you have the CourseCo website template.
Step 1: Uploading an Image to Media
Navigate to the Media section in CourseCo.
Click Upload New Image.
Select or drag and drop the image file from your computer.
Under Preset, choose ‘Course’ (recommended size: 235x179 pixels).
Click Save to complete the upload.
Step 2: Assigning the Image to a Course Category
Go to the Courses section.
Select Course Categories from the menu.
Open an existing category by clicking on its name.
Locate the Image dropdown within the category settings.
Select the newly uploaded image from the dropdown list.
Click Save to update the category.
Outcome
The selected Course Category image will now be displayed on the website homepage.
If you encounter any issues, ensure the image is correctly uploaded with the ‘Course’ preset and that it is properly assigned to the category.
Let me know if you’d like any refinements!