Adding a Course
You can add courses to your CourseCo effortlessly. Also, provide course details such as title, level, summary, description, etc., so that your customers get more information on the courses they are looking for.
When you add a course using this option the course will be added once. The course will display on the website only when an upcoming schedule is linked and published. You can also add your marketing material, sales videos, and links to your brochures.
Make sure that you have logged in as an Admin.
1. Navigate to the Courses module.
The Courses page will be displayed.

2. Click the ADD COURSE button.
The fields to add a course will be displayed.
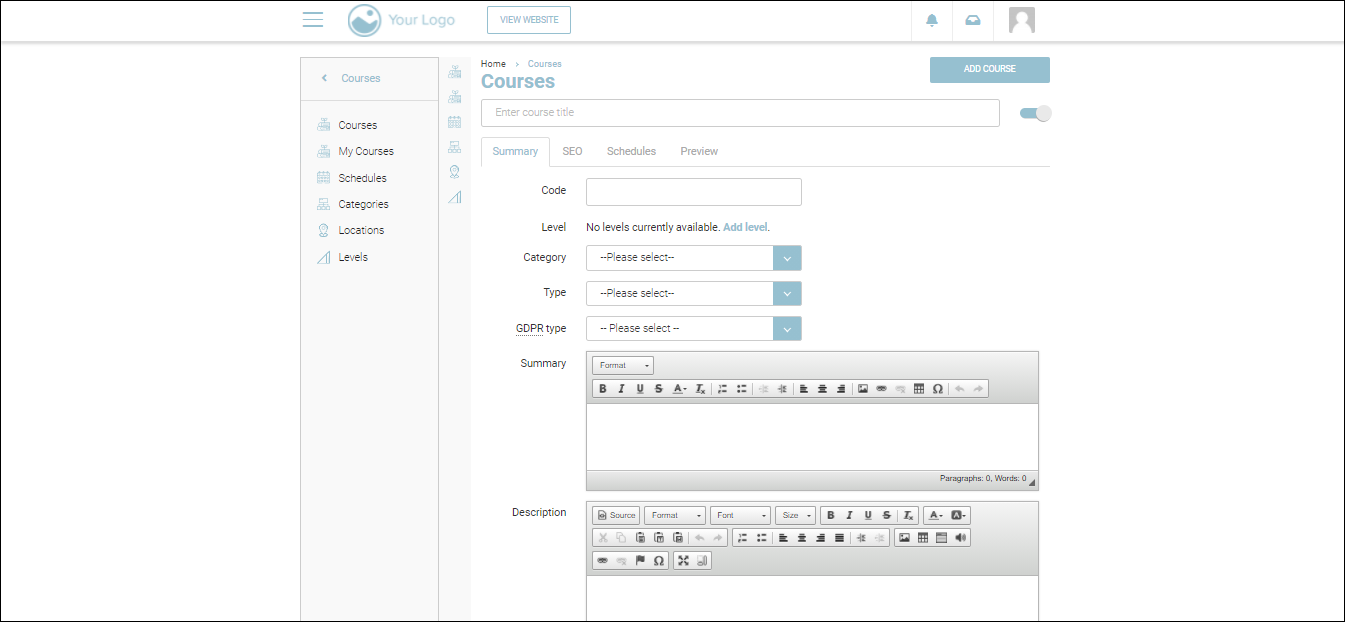
3. Enter the title of the course in the Course Title field.
The Course Title entered will be displayed as the course title on the website.
4. Enter the course abbreviation in the Course Code field (Optional).
5. Select the level of the course from the Level dropdown list depending on your business. For example, it could be Level 6/credit based example 5 Credits (Optional).
6. Select the classification of the course from the Category dropdown list.
7. Select the type of course based on your business workflow from the Type dropdown list. depending on your business like In-company or Public, it can be short-term, long-term, theory, practical, and so on.
8. Select the General Data Protection Regulation from the GDPR type dropdown list. This ensures that the course follows GDPR cleansing after a period of time defined by you. Leave this field blank if it is not yet defined by the CourseCo team.
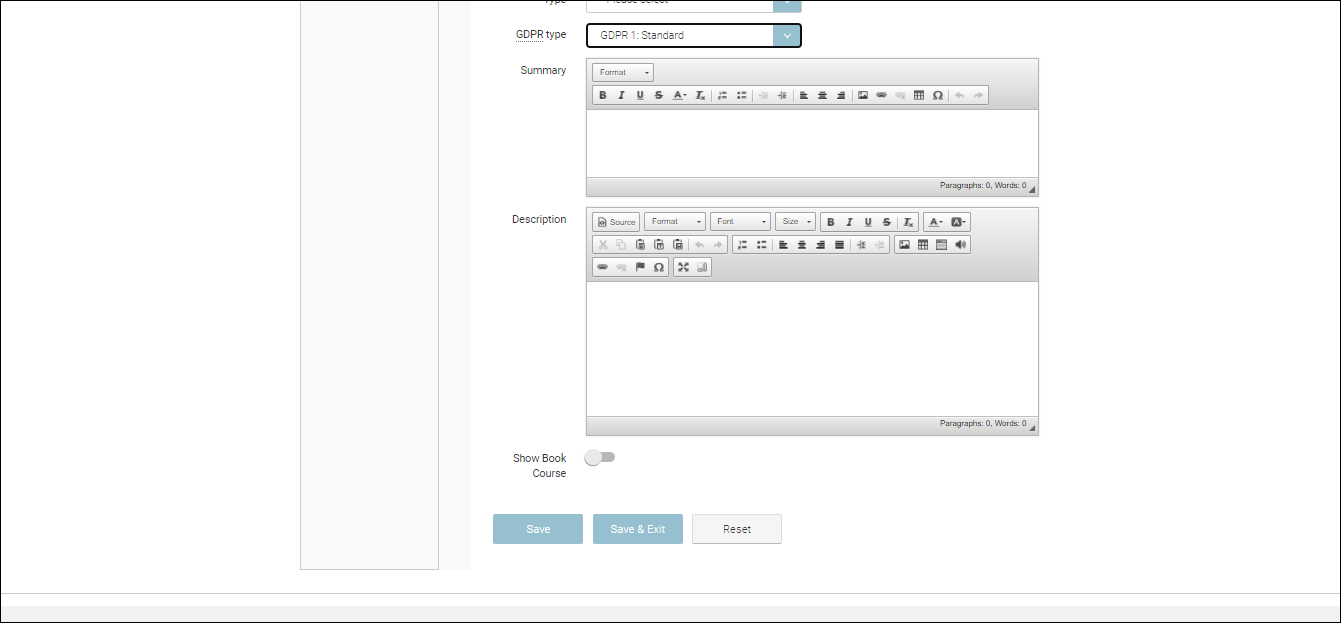
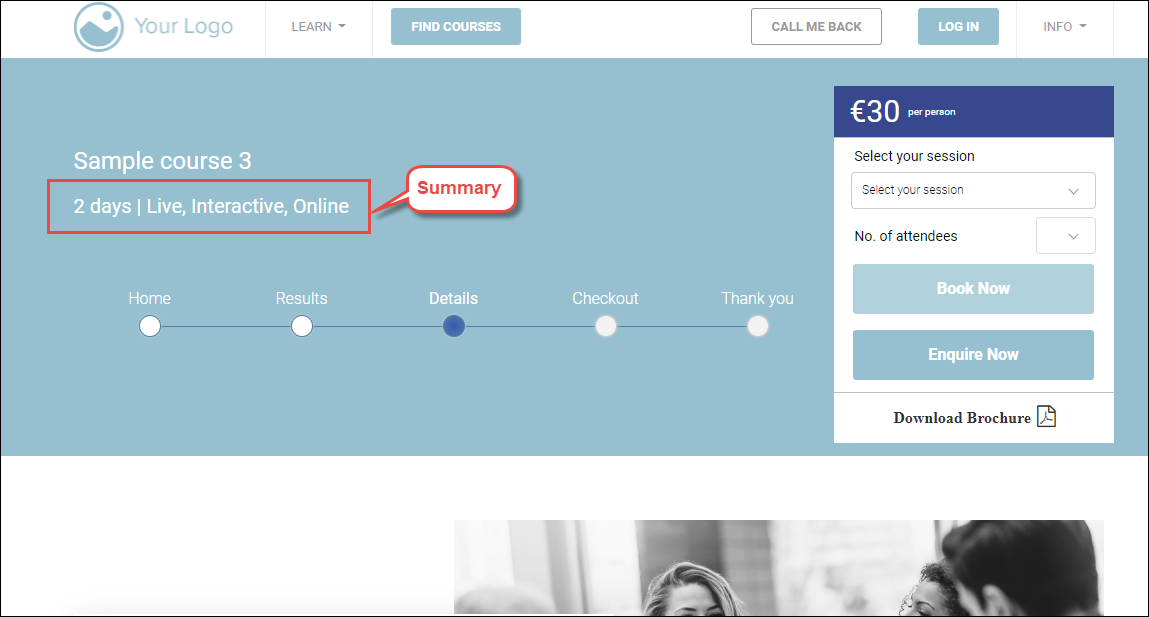
9. Enter the summary of the course in the Summary field.
This will display as per the image below
10. Enter the description of the course in the Description field.
You will add description information into the WYSIWYG (Editing tool) - the way you format this text is not nesassarly how it will display on the front end of the website as there is a theme/ style on the front end of the website which will keep your content uniform.
Tips
Do not change the font / font size - this is decided in your theme when your platform was configured
Using ‘Heading 1, Heading 2, Normal text…’ to organise your content.
Heading 1 - this is used for main heading text, use 'Normal' when adding specific content.
When using normal, we suggest using bold, italic, underline also.
Don’t use bold, italic, underline for heading 1, 2..etc as this has its own style already i.e. it might already be bold and underlined.
The Summary you provide here will be displayed on the Course-List page and the Banner of the course details.
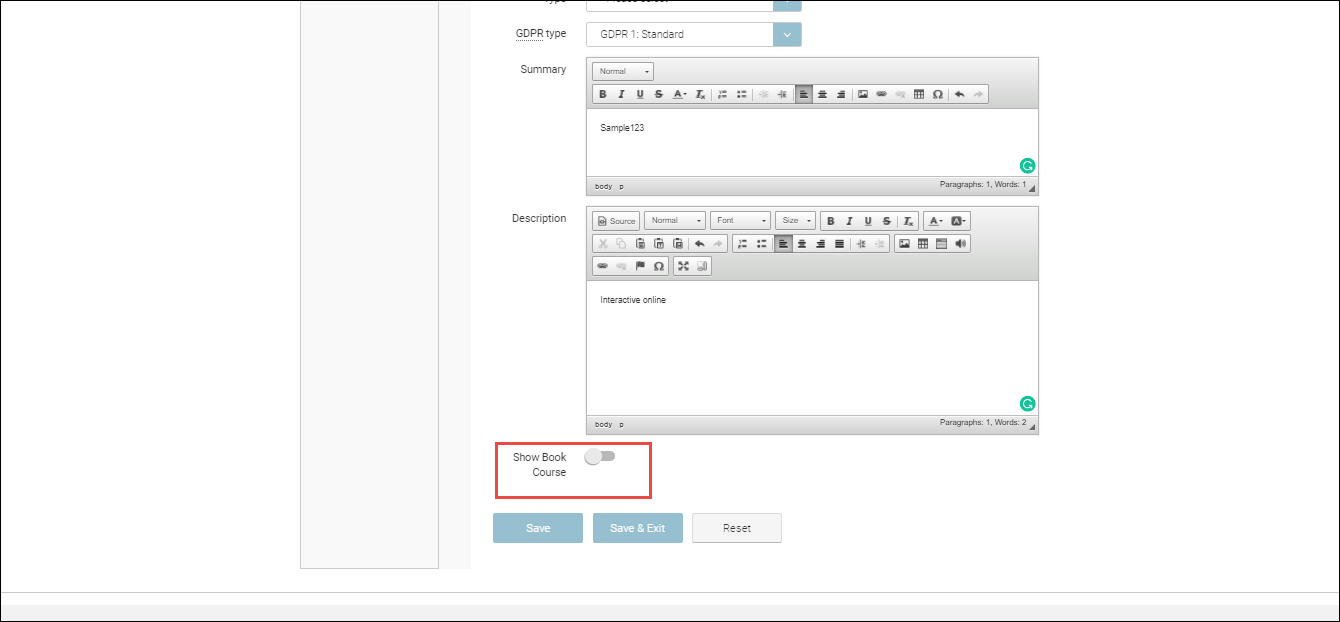
11. If you want customers to book the course immediately, switch to toggle the Show Book Course option. If you want to keep the course as read-only and only enquire now, switch to toggle the Show Book Course option.
12. Click Save.
The new course will be added.
The course will not be displayed on the website until a schedule has been linked to it.
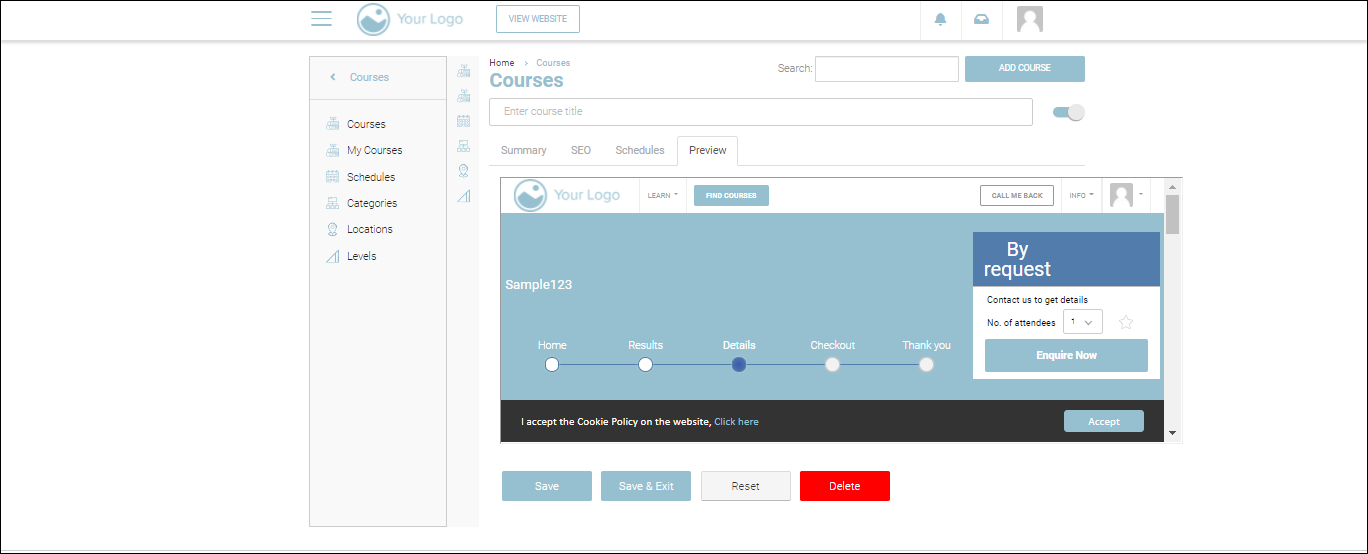
Select the Preview tab on the course to view a preview of it on the website.
A sample course is displayed below:
To add a schedule to your course, please follow this link: https://help.courseco.co/kb/Creating-Schedules.2223374611.html
